Account Settings
Manage your personal profile, team members, and account settings all in one place. Access account settings from the Manage section by clicking the gear icon in the navigation bar.
Access account settings from the Manage section by clicking the gear icon in the navigation bar.
Profile Settings
In This Section:
- Enable Two-Factor Authentication (2FA)
- Change Password
- Update Email
- Change Phone Number
- Set Timezone and Time Format
Enable Two-Factor Authentication (2FA)
To add an extra layer of security to your Syndica account, any user can enable two-factor authentication any time.
Two-factor authentication lives in the Profile section of the Manage panel.
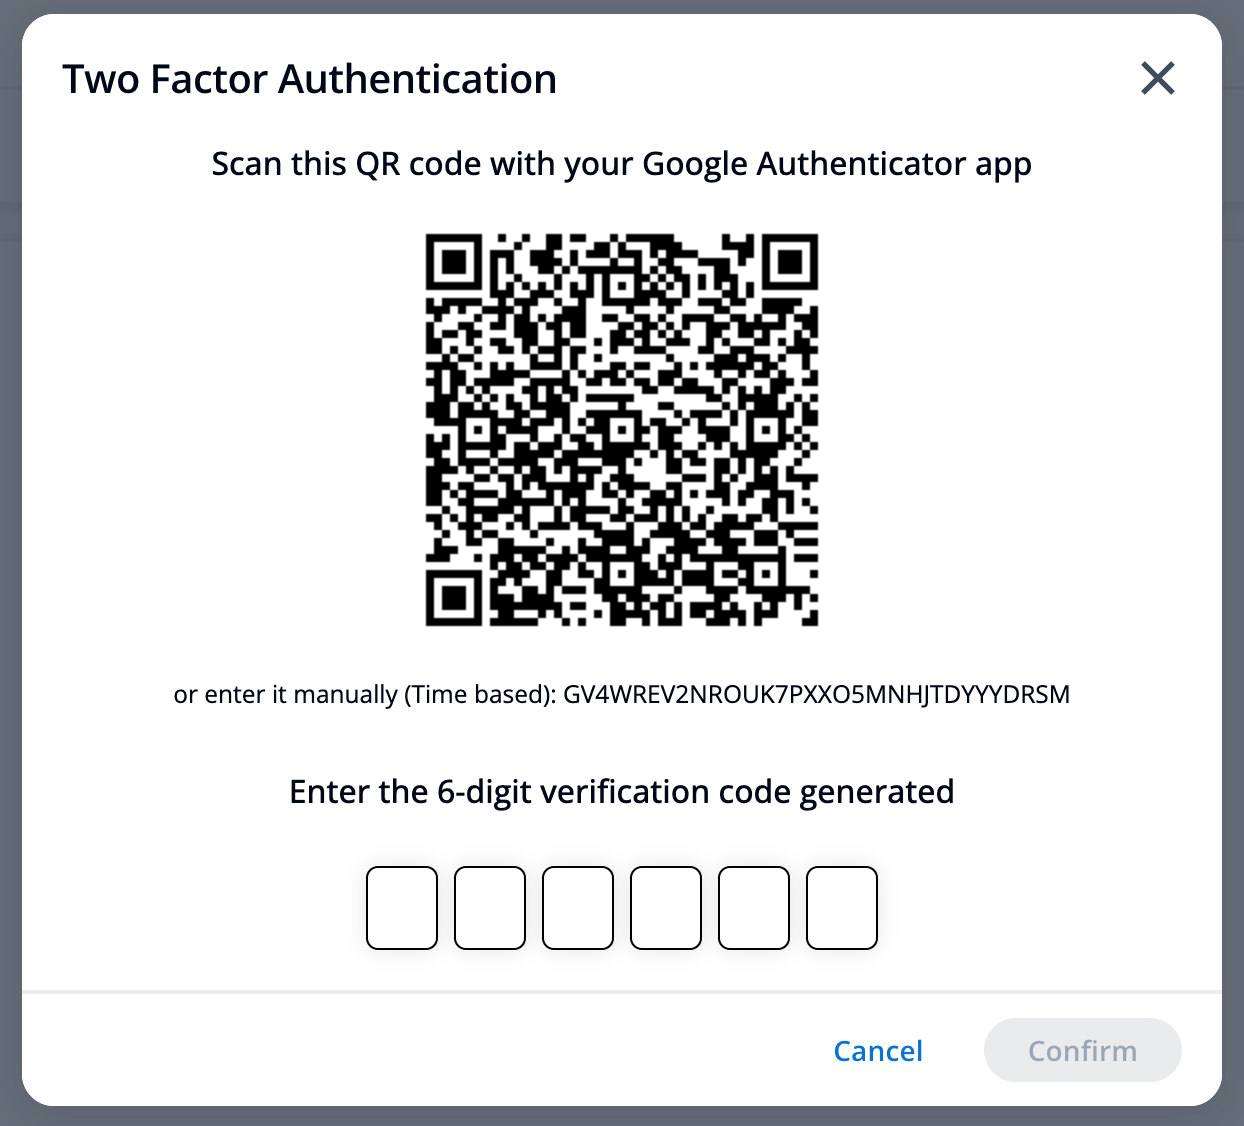
Clicking Enable 2FA will open a modal with instructions to add Syndica to your 2FA application (Google Authenticator / Authy / etc). Enter the 6-digit code returned by your authentication app and then hit Confirm. Two-factor authentication is now enabled for this account.
Change Password
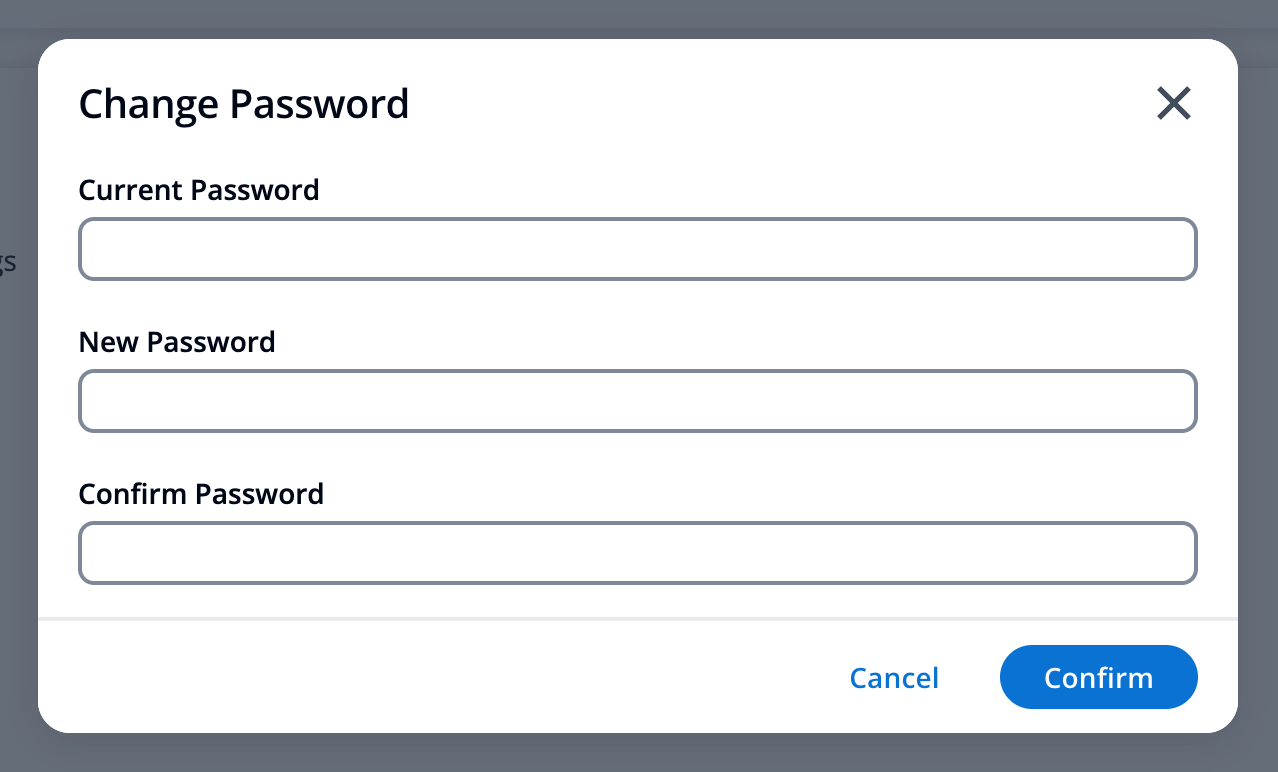
To change your password, click on the Change Password button. When the modal appears, enter your current password, then enter your new password and confirm it. Click the Change Password button to save your changes.
Update Email
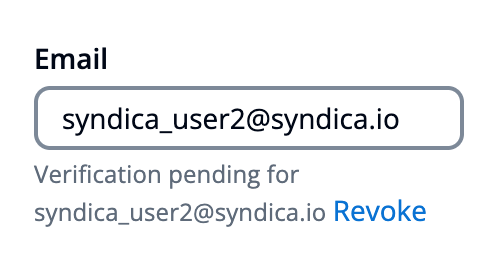
To update your email address, edit the email field at the top of the profile page and click the save button. You will receive an email to the address entered asking you to verify the new email address. Once you click "verify email", your new address will be verified and updated.
Next time you log in, make sure to use this new email address.
If the change in email address was done by accident, you can simply click the "Revoke" button that appears under the email field to revert back to the original email address.
Change Phone Number
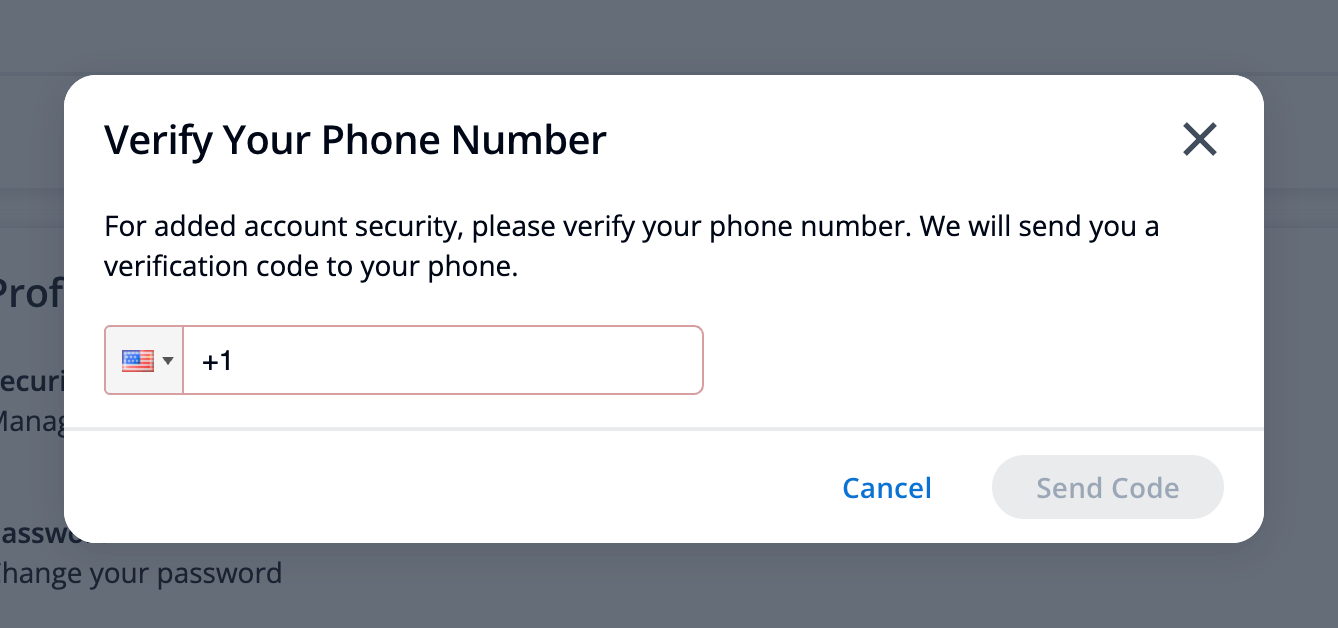
To change your verified phone number, click the Change Phone Number button. When the modal appears, enter your new phone number and click the Send Code button. You will receive a text message with a 4-digit code. Enter this code and click the Confirm button. Your phone number is now updated.
Set Timezone and Time Format
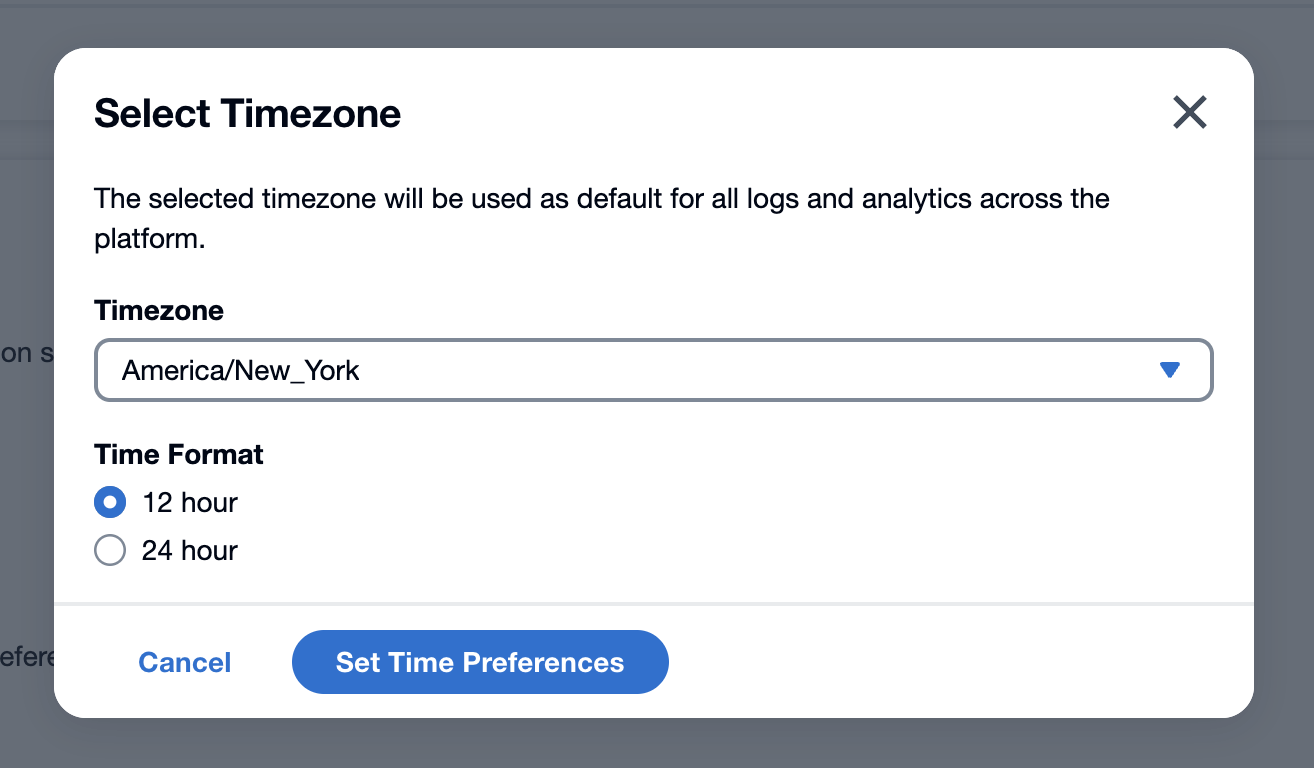
Within the profile section, you have the option to change the default timezone (UTC) to your preferred timezone. This will affect the time displayed on the Syndica platform. To do so, click the Change Time Preferences button, select a timezone, and click the Save button. Your timezone is now updated.
You can also change how the time is displayed throughout the platform. In the same modal as above, under the Time Format section, select either 12-hour or 24-hour to change the time format to your preferred version.
Team Management
Access team management from the Manage section by clicking the gear icon in the navigation bar, then selecting Teams from the left menu.
In This Section:
User Roles Overview
Team collaboration is plan-gated:
- Standard Lite: Account Owner only (no additional users)
- Standard Mode: Up to 3 users total (Account Owner + 2 additional users)
- Scale Mode: Up to 100 users (first 5 free, then $10/user/month)
Need more users? Upgrade to Scale Mode from the Billing section or learn more about our pricing options.
Invite Users
Onboarding team members is straightforward. Add multiple users at once by sending email invitations.
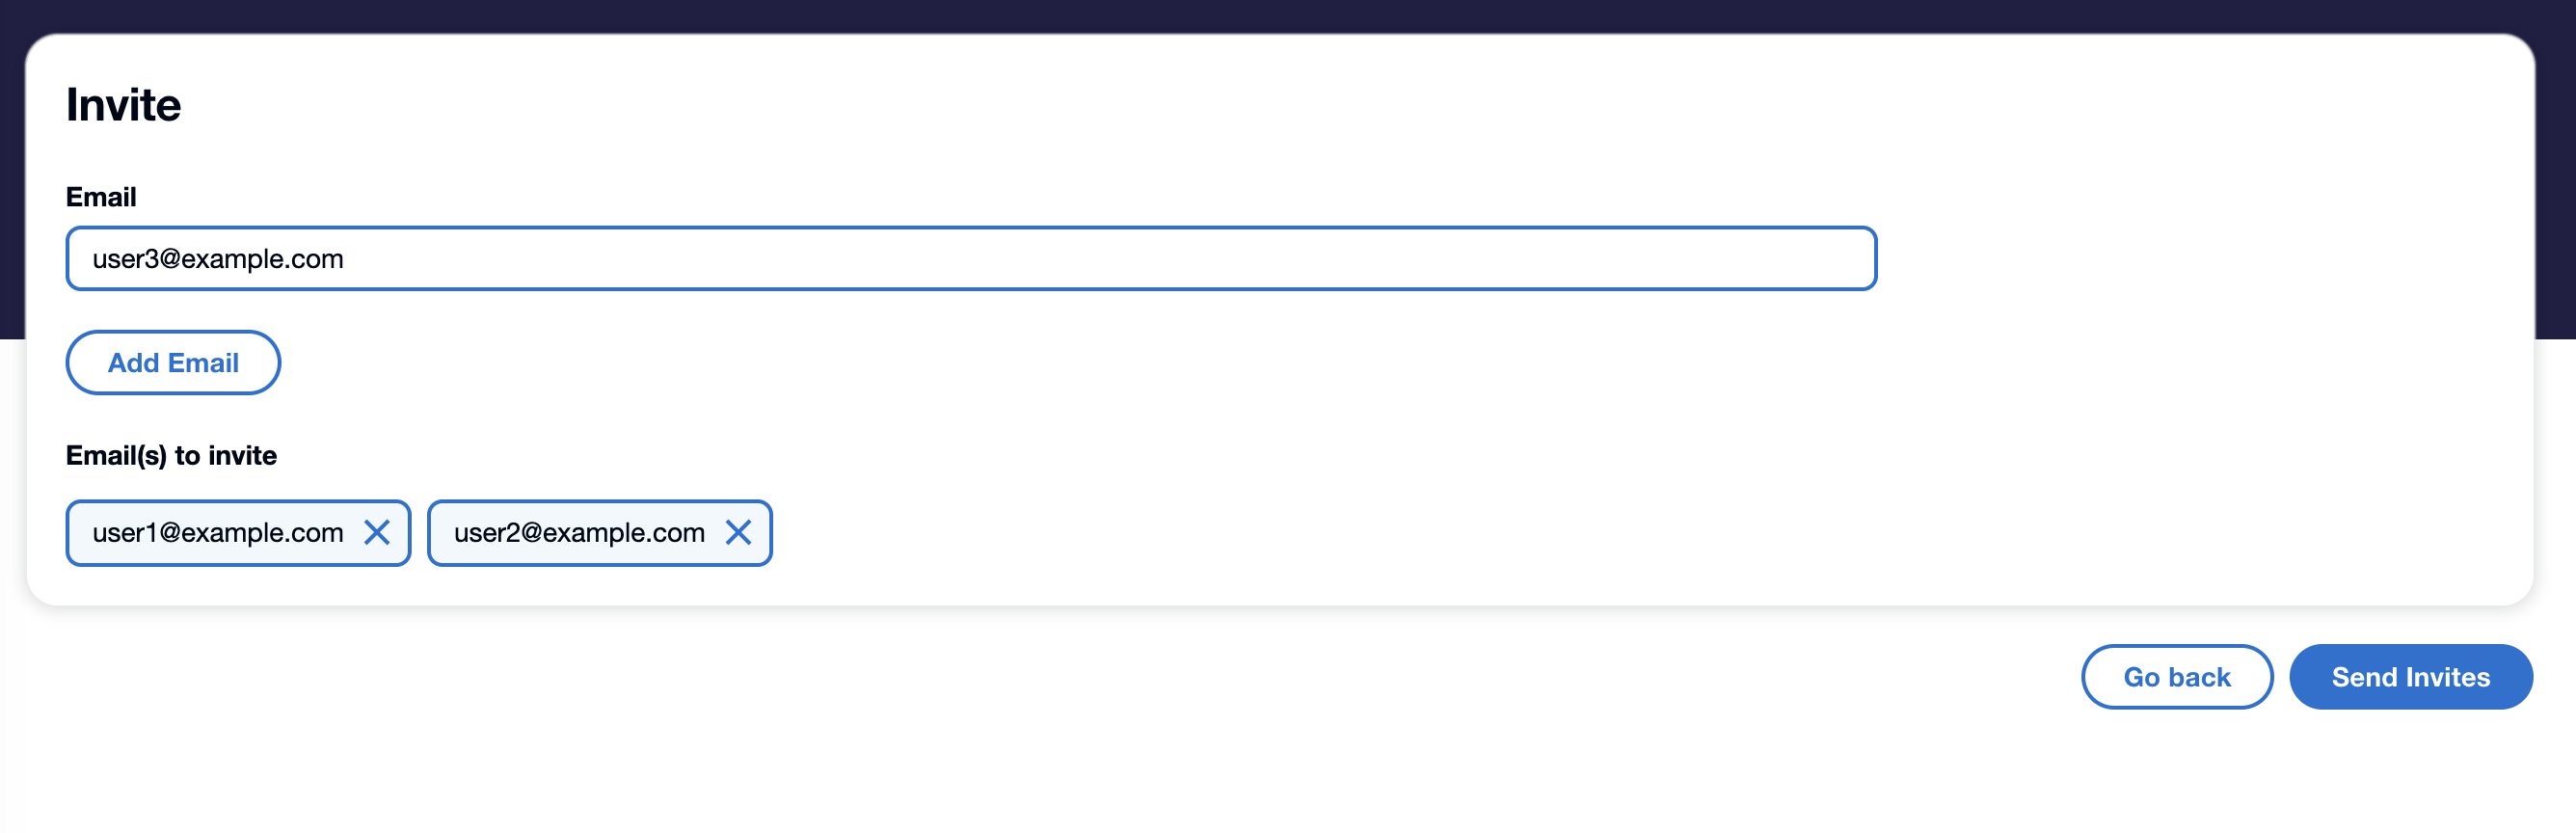
To invite users:
- Navigate to the Teams section in the Manage panel
- Click Invite Users in the upper right corner
- For each user you want to invite:
- Enter their email address
- Click Add email
- Click Send invites
Invited users receive an email with instructions to create a Syndica account. When they sign up, their account is automatically linked to your organization.

Only Account Owners can invite users to the account.
Deactivate Users
Deactivating a user immediately revokes their access to the platform. You can reactivate users at any time.
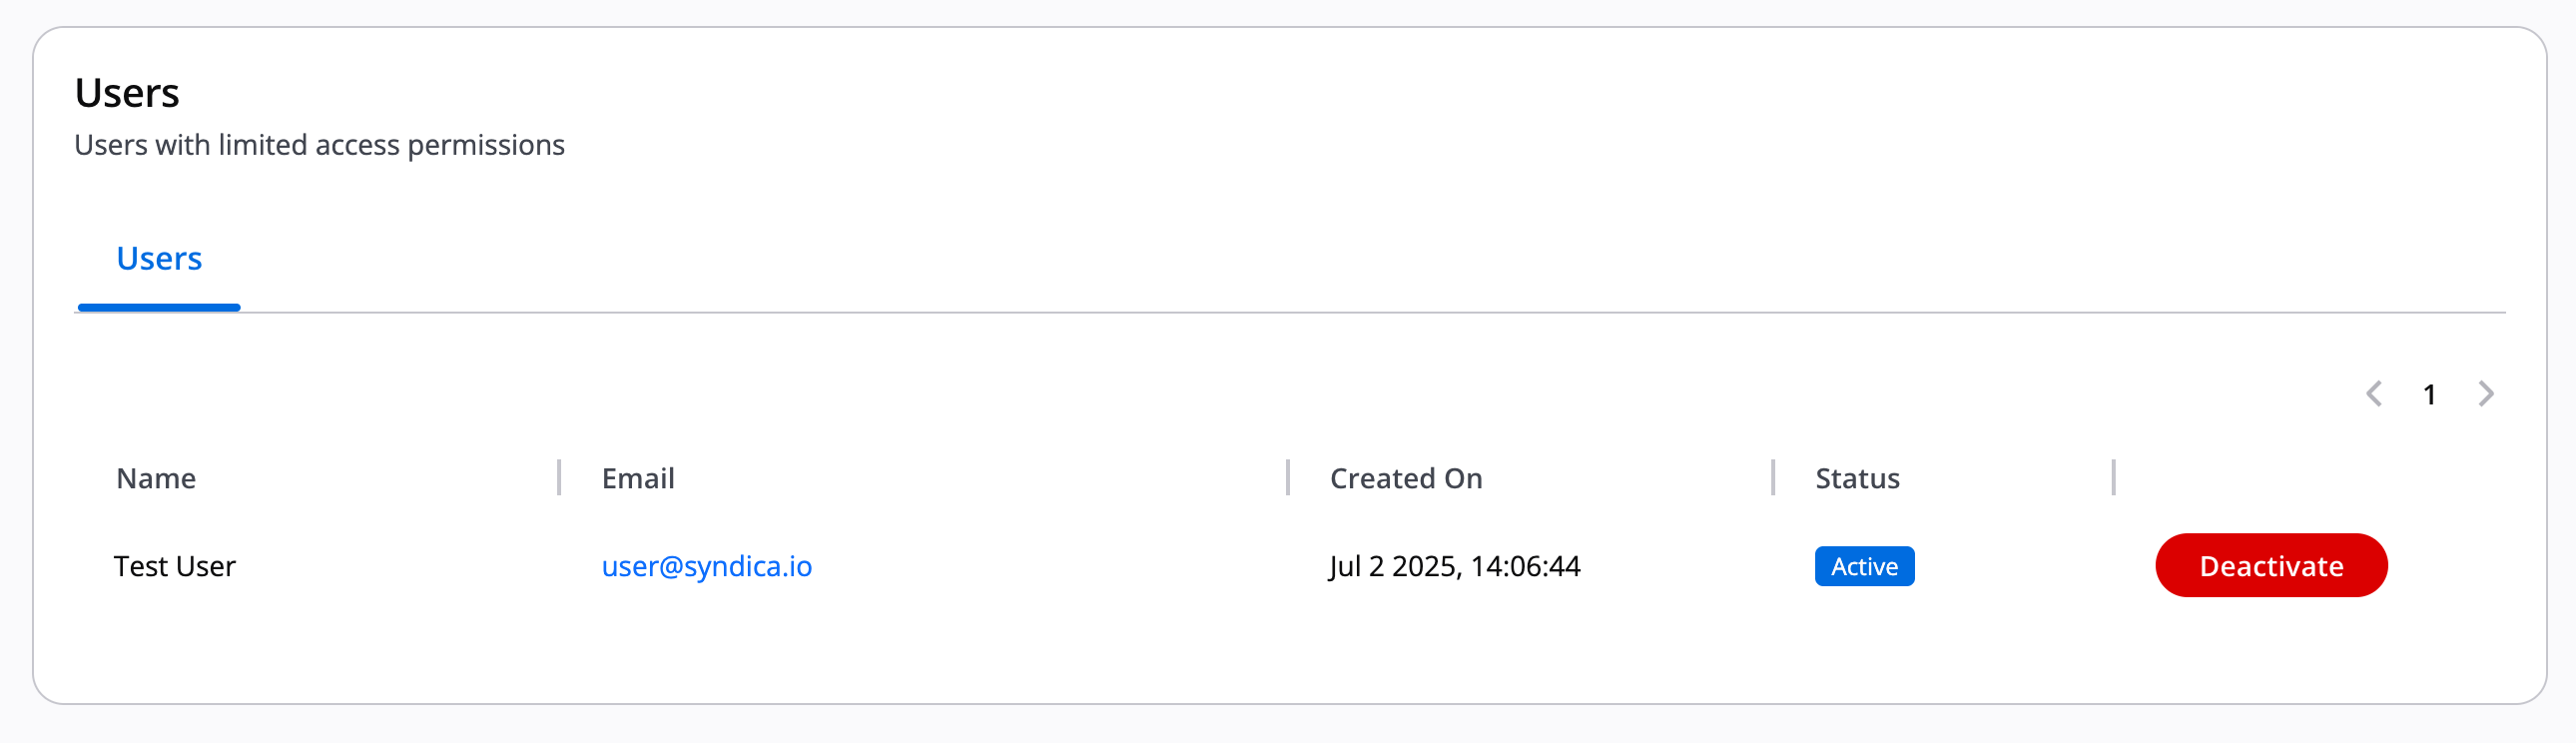
To deactivate a user:
- Navigate to the Teams section in the Manage panel
- Locate the user in the Users table
- Click Deactivate next to their name
- Confirm the action
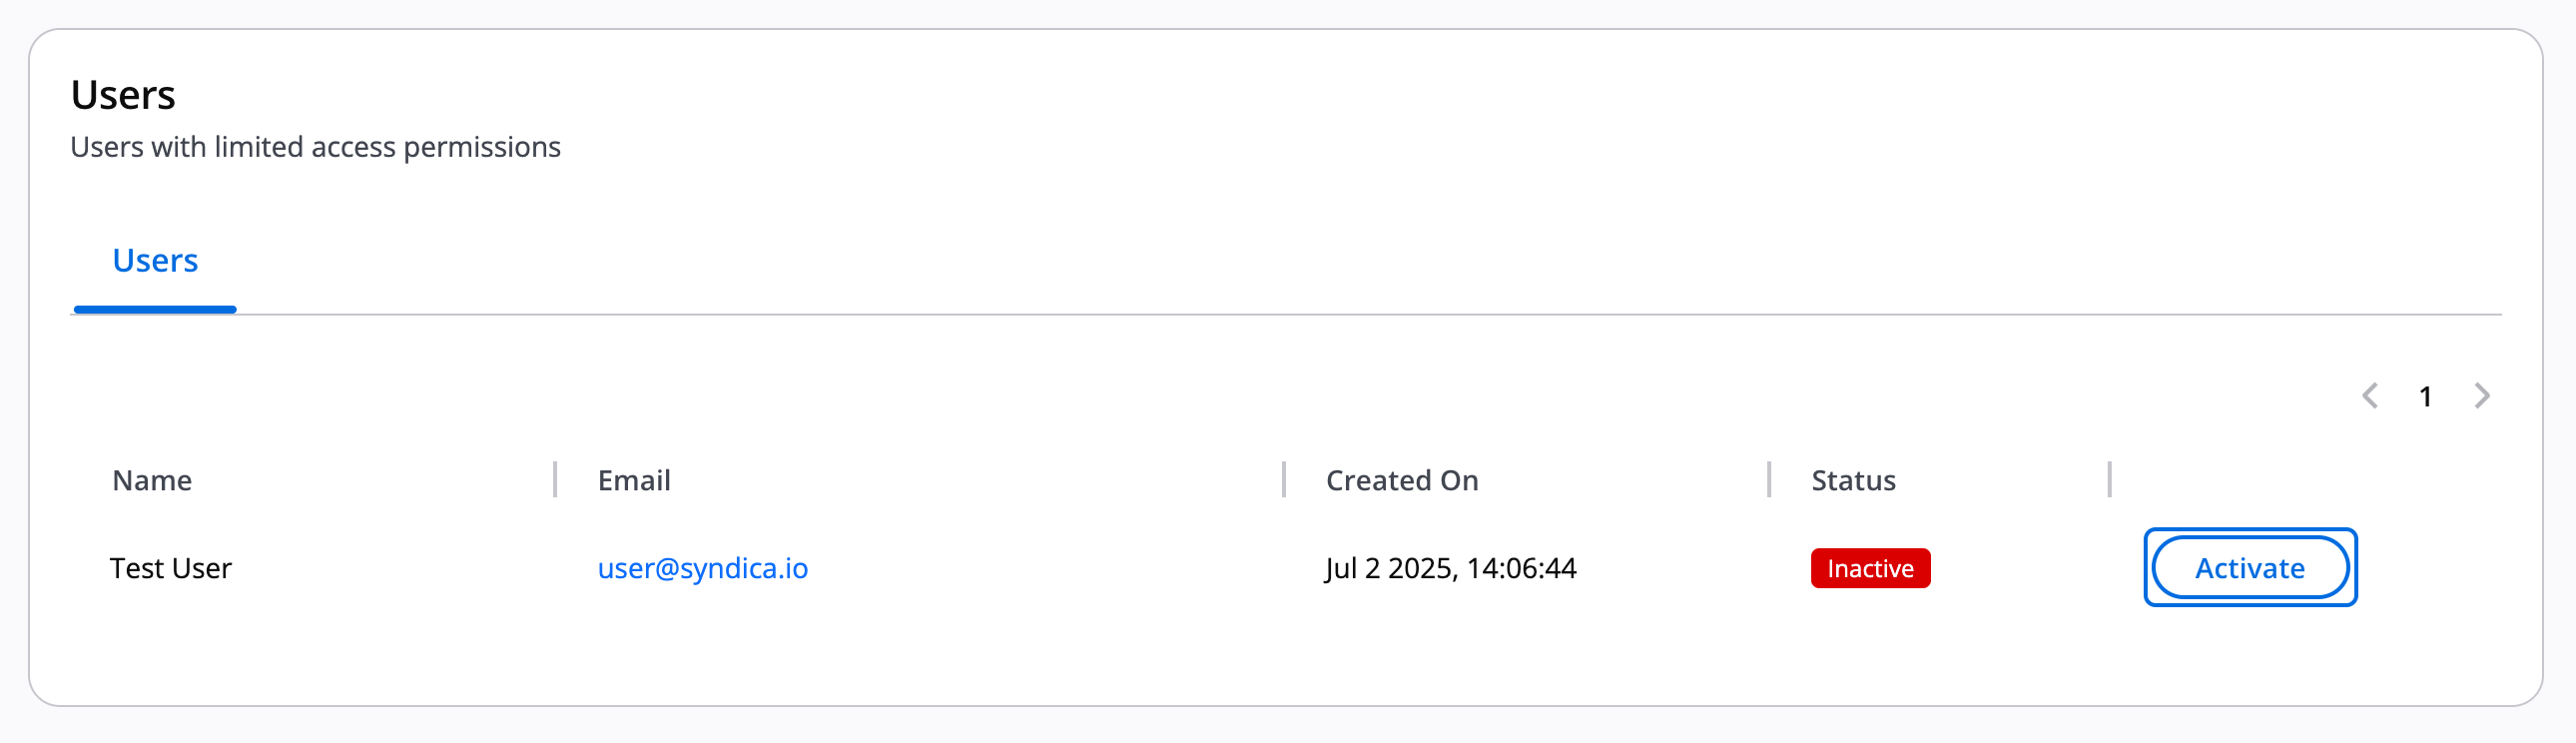
To reactivate a user:
- Find the deactivated user in the Users table
- Click Activate to restore their access
Account Management
In This Section:
Upgrade Account Plan
Upgrade your Syndica account to access additional features and higher usage limits.
Standard Lite to Standard Mode
To upgrade from Standard Lite to Standard Mode, add a payment method to your account:
- Navigate to the Billing section in the Manage panel
- Add a valid payment method
- Your account will automatically upgrade to Standard Mode
Standard Mode to Scale Mode
To upgrade from Standard Mode to Scale Mode:
- Navigate to the Billing section in the Manage panel
- Click Change Plan
- Select Scale Mode and confirm the upgrade
- Your account will be upgraded immediately
Hyperscale
For Hyperscale plans with custom requirements:
- Use the cost estimator to calculate your usage needs
- Click Talk to Sales to discuss custom pricing
- Our team will help configure your Hyperscale account
Downgrade Account Plan
Before downgrading from Scale to Standard, you must disable Scale-specific features.
Before downgrading from Scale to Standard, you must:
- Disable ChainStream API if enabled
- Remove additional users (keep only 3 total)
- Archive extra stacks (keep only 1)
Once you've met these requirements, navigate to the Billing section and select the Standard plan.
Deactivate Account
Account deactivation immediately revokes API access and stops all running containers. Your data is preserved and the action is reversible.
To deactivate your account:
- Navigate to the Organization section in the Manage panel
- Scroll to the Account Deactivation section
- Type "deactivate account" in the confirmation field
- Click Deactivate Account
Deactivating your account will:
- Immediately revoke API access
- Stop all running containers
- Preserve your data for future reactivation
This action is reversible. Contact support to reactivate your account.
FAQ and Troubleshooting
How do I upgrade, downgrade, or cancel my subscription?
Navigate to Manage → Billing → Plans, choose Standard Lite, Standard, or Scale, and click Switch Plan. The change applies immediately and invoices/credits are prorated automatically. To cancel Scale, simply switch back to Standard using the same flow.
Can I remove my credit card after cancelling Scale?
Yes. After you downgrade to Standard and all outstanding invoices are paid, delete your card(s) in Billing → Payment Methods. If you later decide to upgrade again, add a new payment method before switching plans.
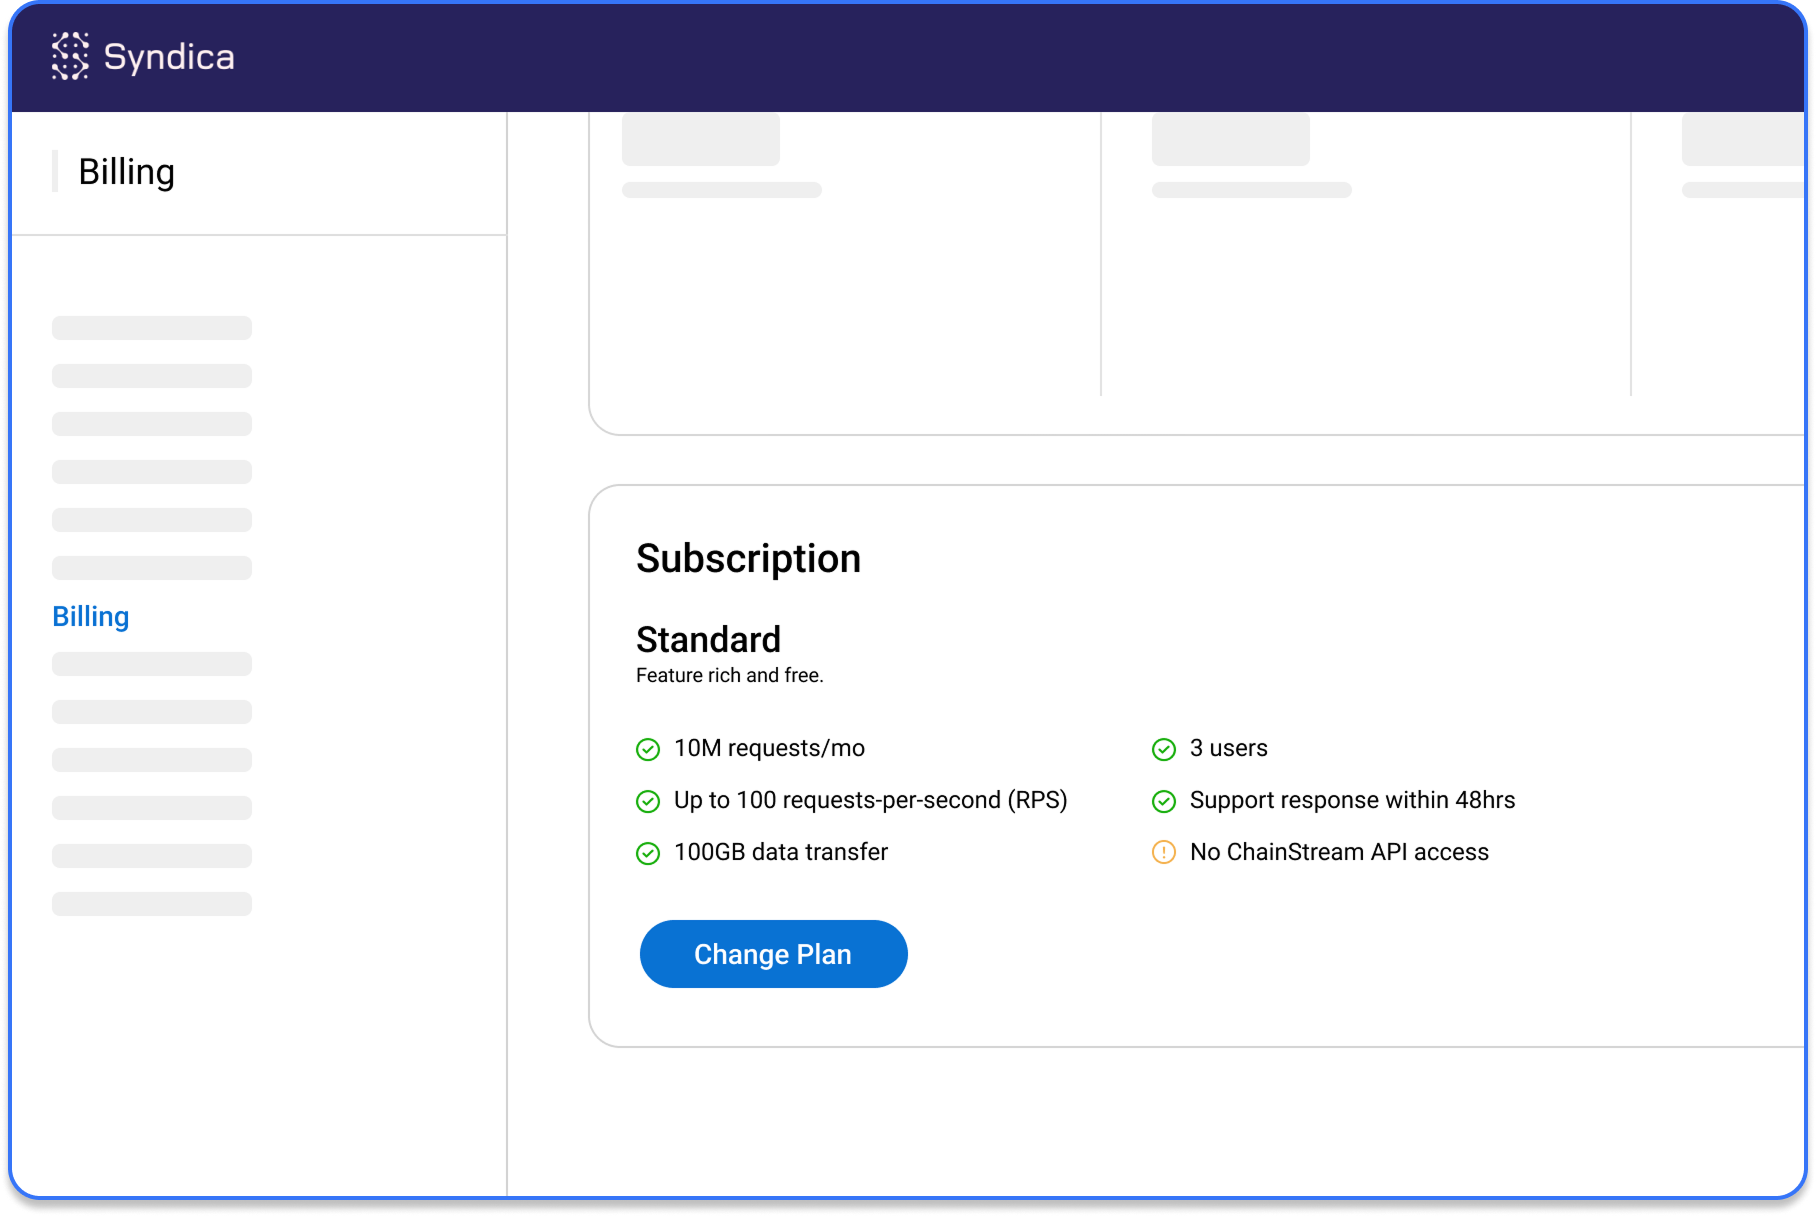
What's included in the Standard (free) tier, and is it still free if I add a credit card?
The Standard (free) tier includes 10 million requests per month, up to 100 requests per second (RPS), and 100 GB of data transfer. Adding a credit card does not change your plan or start billing; it only enables instant upgrades later. The Standard plan remains free.
Can I close my account if there’s an unpaid invoice?
Outstanding invoices must be settled before permanent closure. Update your payment method so we can retry the charge or contact support to discuss settlement. Once the balance is cleared, we can close the account and remove stored payment details.
What You Can Do Next
- Create and manage API Keys - Set up authentication credentials
- Manage stacks - Organize resources across your account
- Configure billing - Manage payment methods and view invoices
- View observability tools - Monitor your account's performance