Deployments
Deployments are where the rubber meets the road. Get your application set up on a server and live for the world to see.
An application deployment is a version (branch) of your application running on a (geo-located) Syndica server. We'll be taking all the previous concepts we've covered so far and applying them here. At the end of this, your app will be live and accessible to the world.
Creating a Deployment
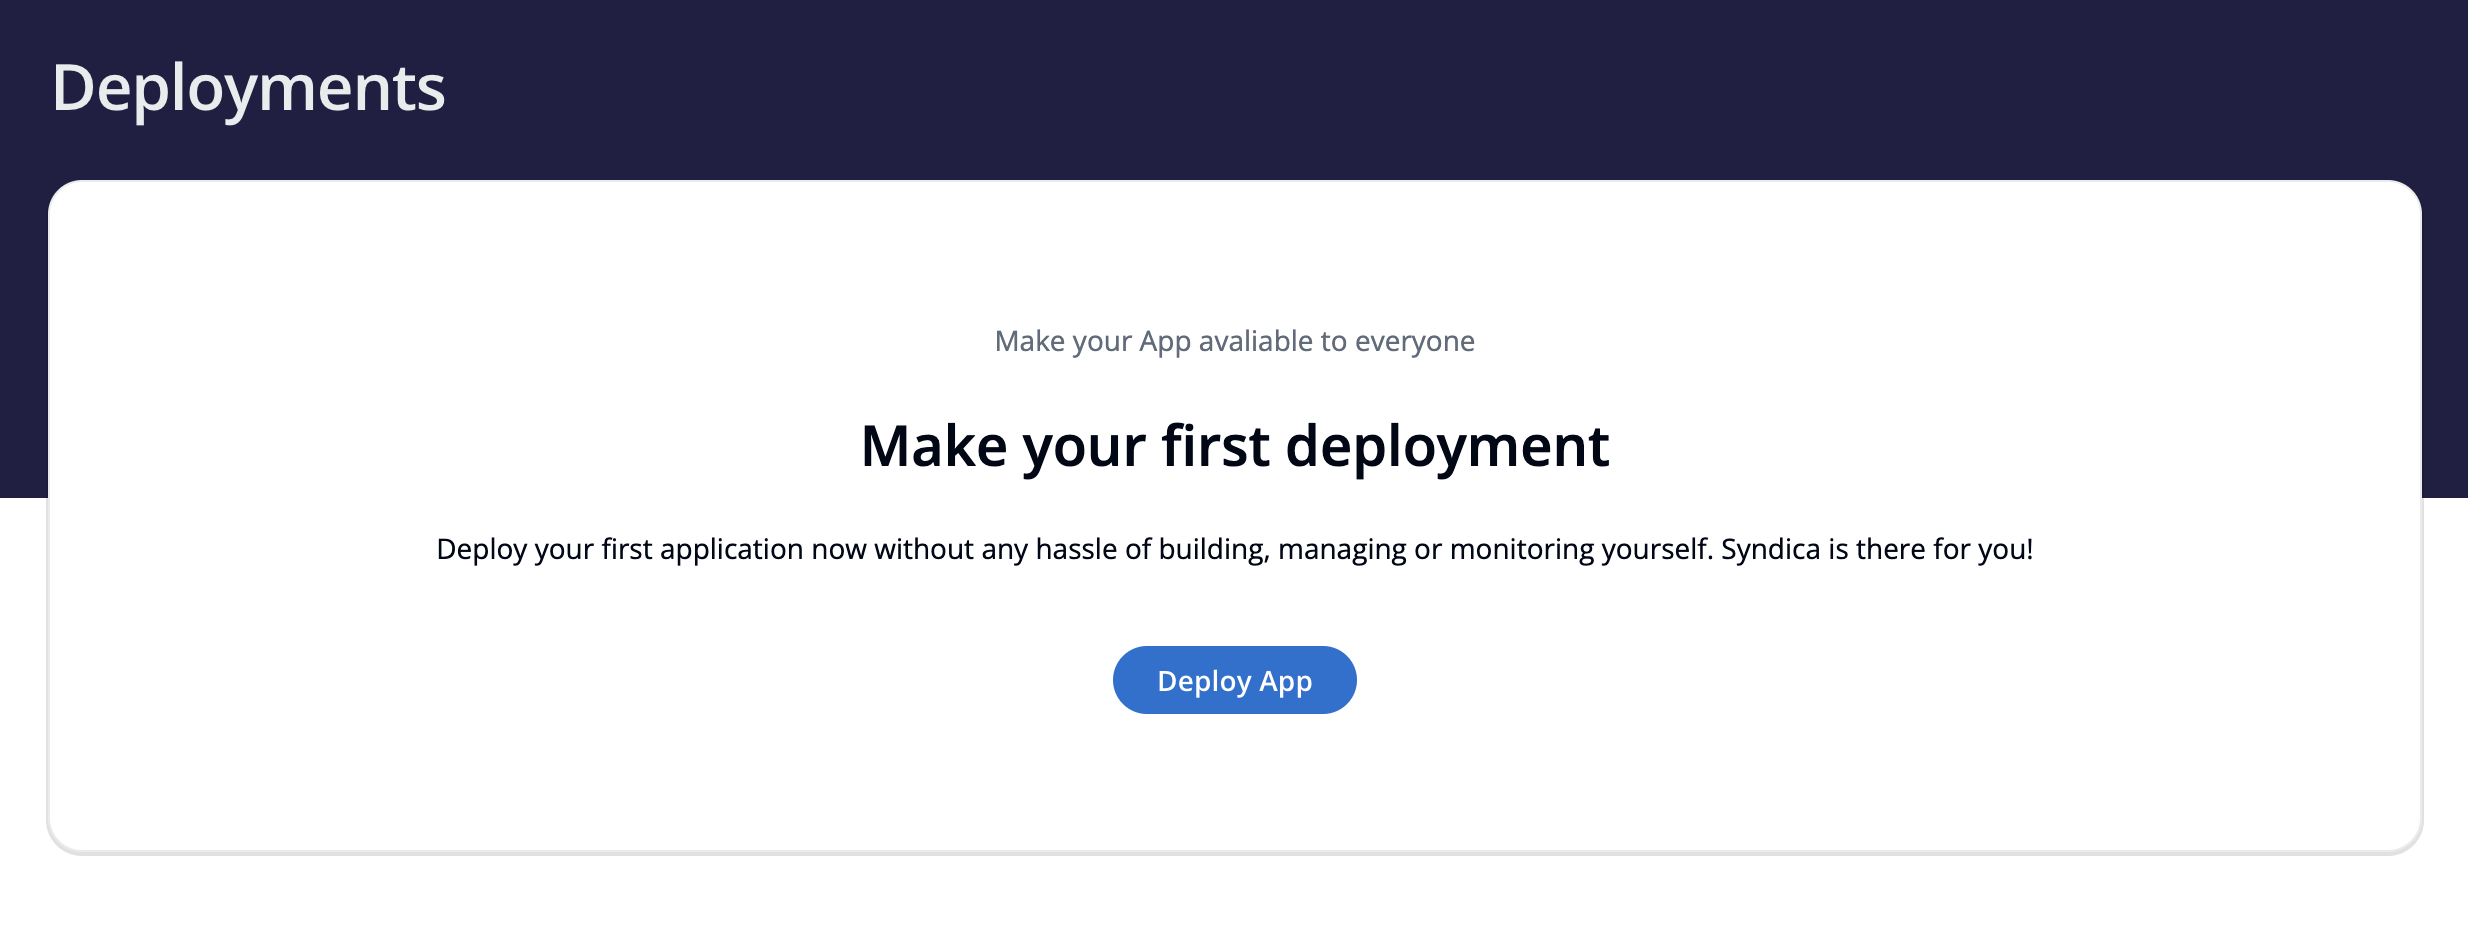
From the details screen of the application, navigate to the deployments section from the left-hand side navigation menu. Since this is your first deployment, you'll be greeted with a prompt to create a new one. Once you have created a deployment (or several deployments) they will show up here where you can manage and edit them. In the meantime, click the Deploy App button to start the Deploy App wizard.
Step 1
First, you'll name your deployment, select a region (us-west-2, us-east-1, eu-west-2), and an environment. Optionally you can also add any environment variables that are specific to this deployment. Any environment variables with the same key as those in the selected environment will override those of the environment.
If you don't have an environment setup, you can click the link to go to the create environment wizard. Once done, you can close out of the wizard and return to creating your deployment. Clicking the refresh icon will fetch the latest environments and you can select the one you created.
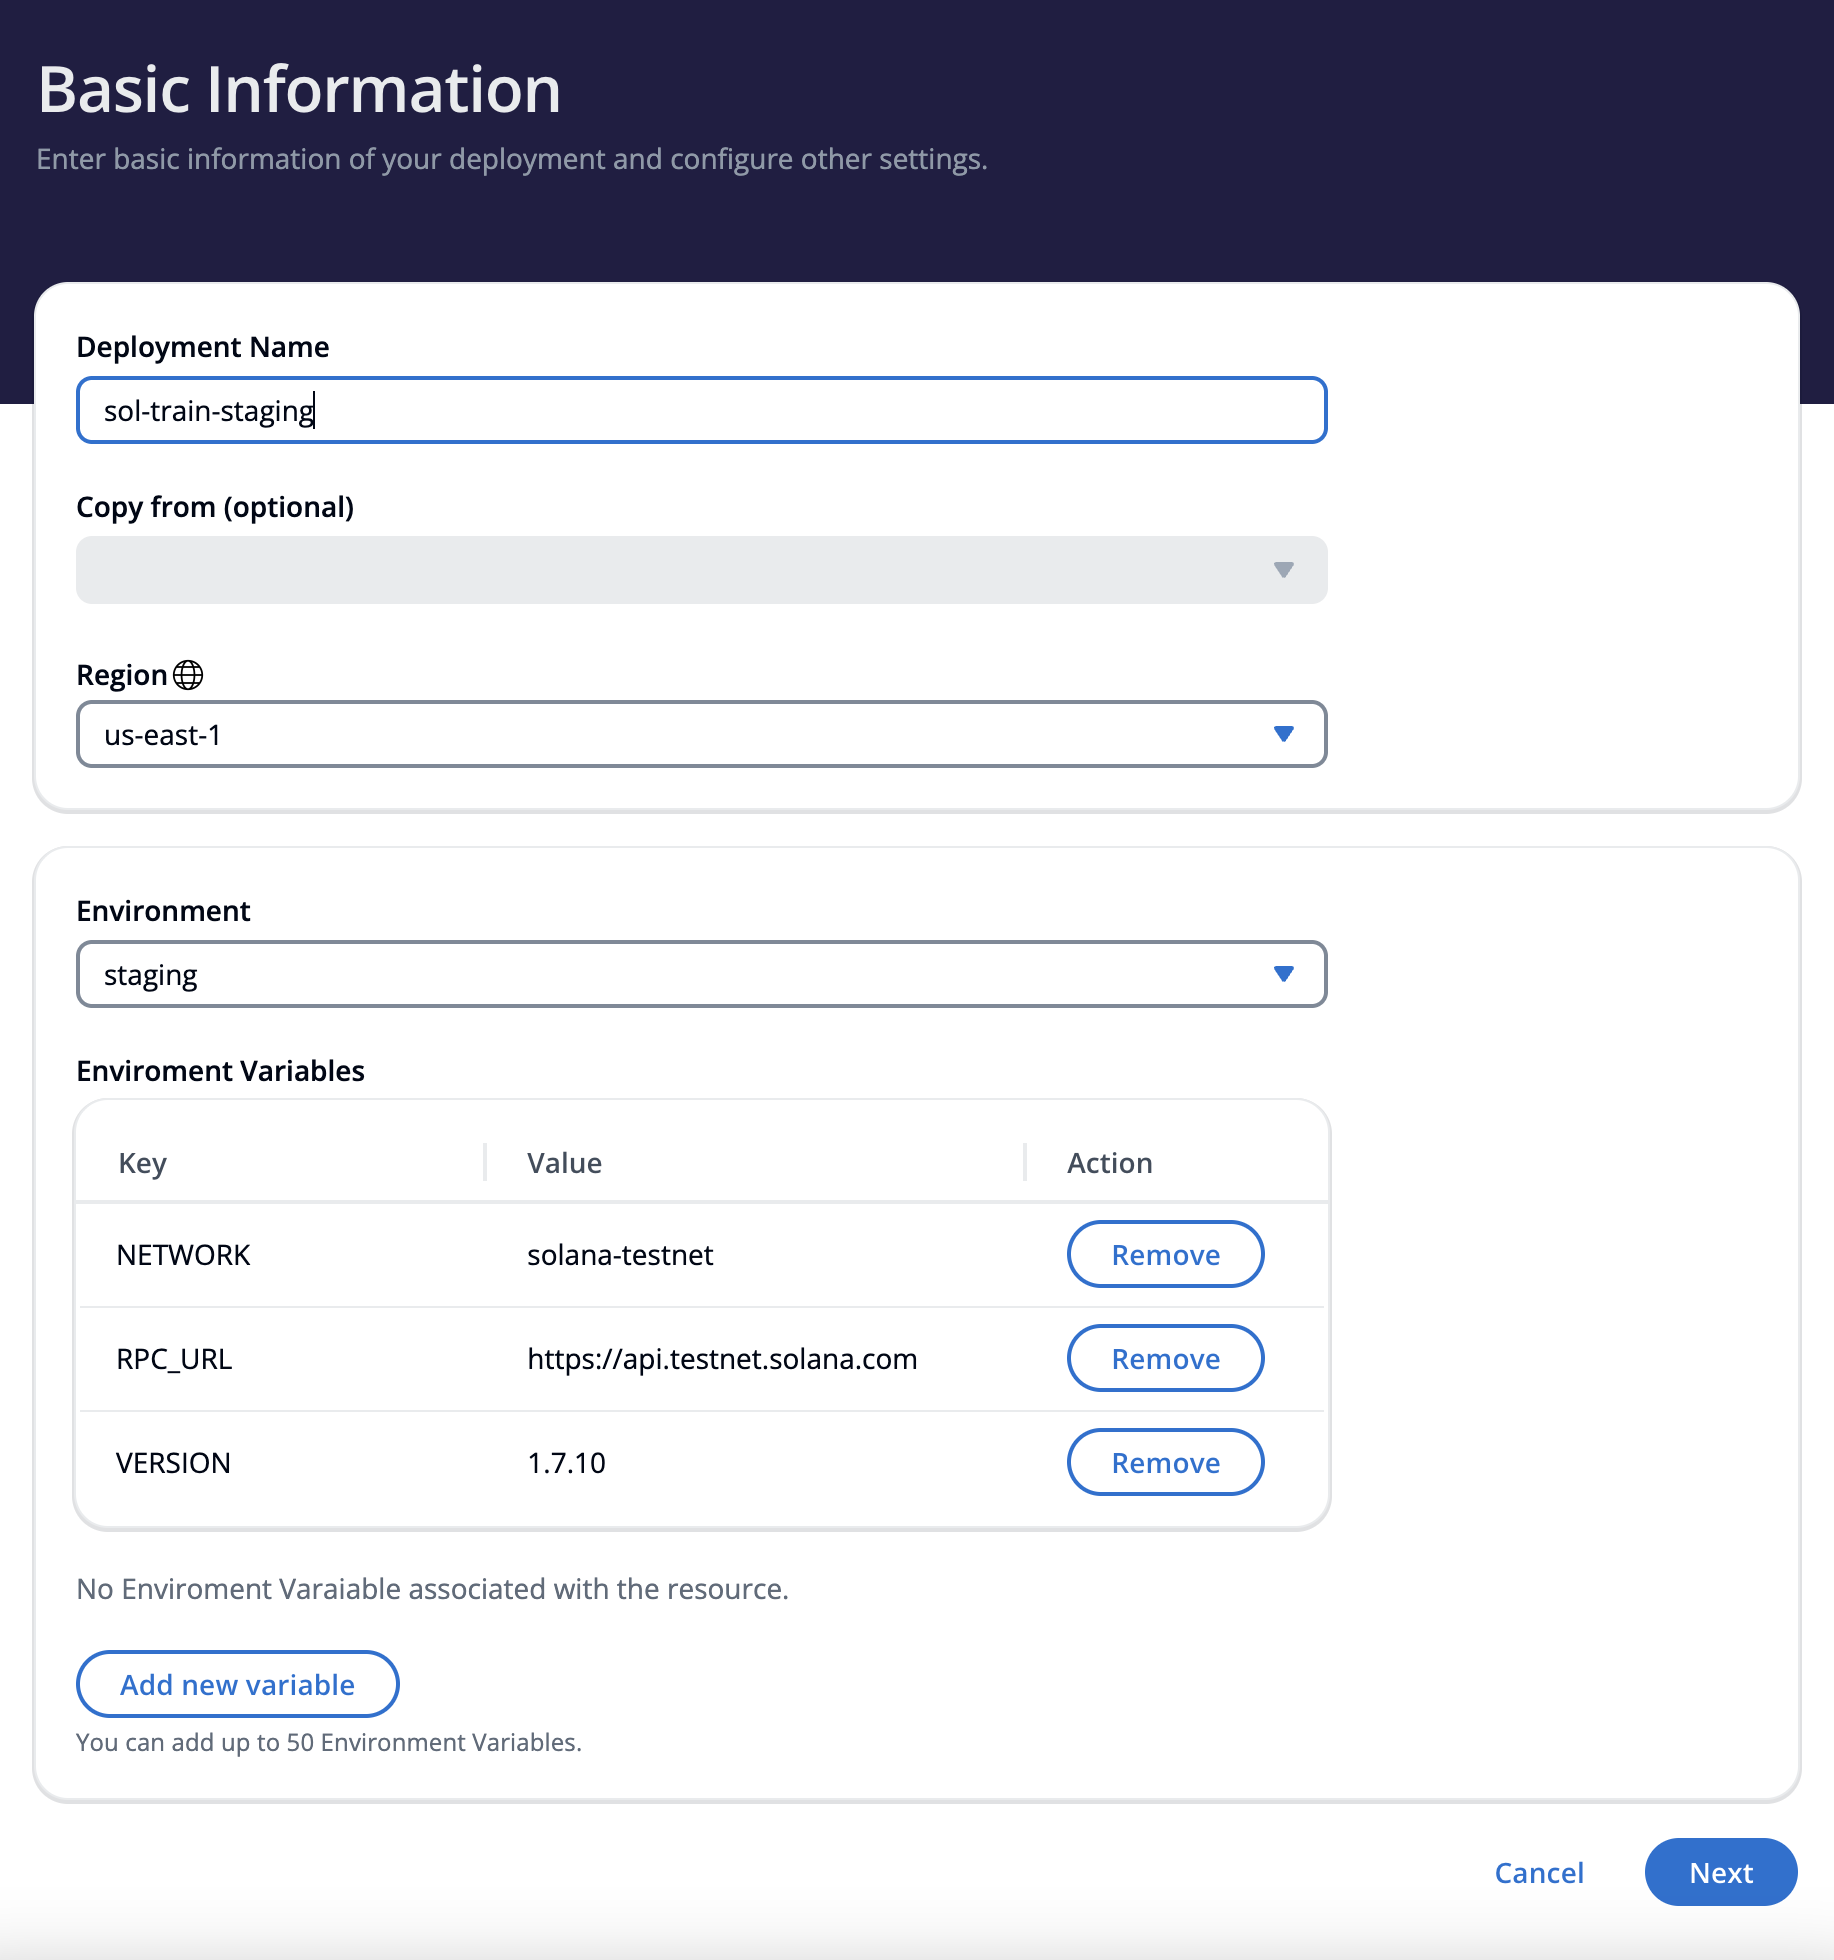
Once satisfied with your selections, click Next to move on to step 2.
Step 2
This next step is broken down into 3 sections. Settings, Instance Configuration, and lastly, tags. Below, we'll go through each section, and when finished, your app will be ready to go live.
Settings
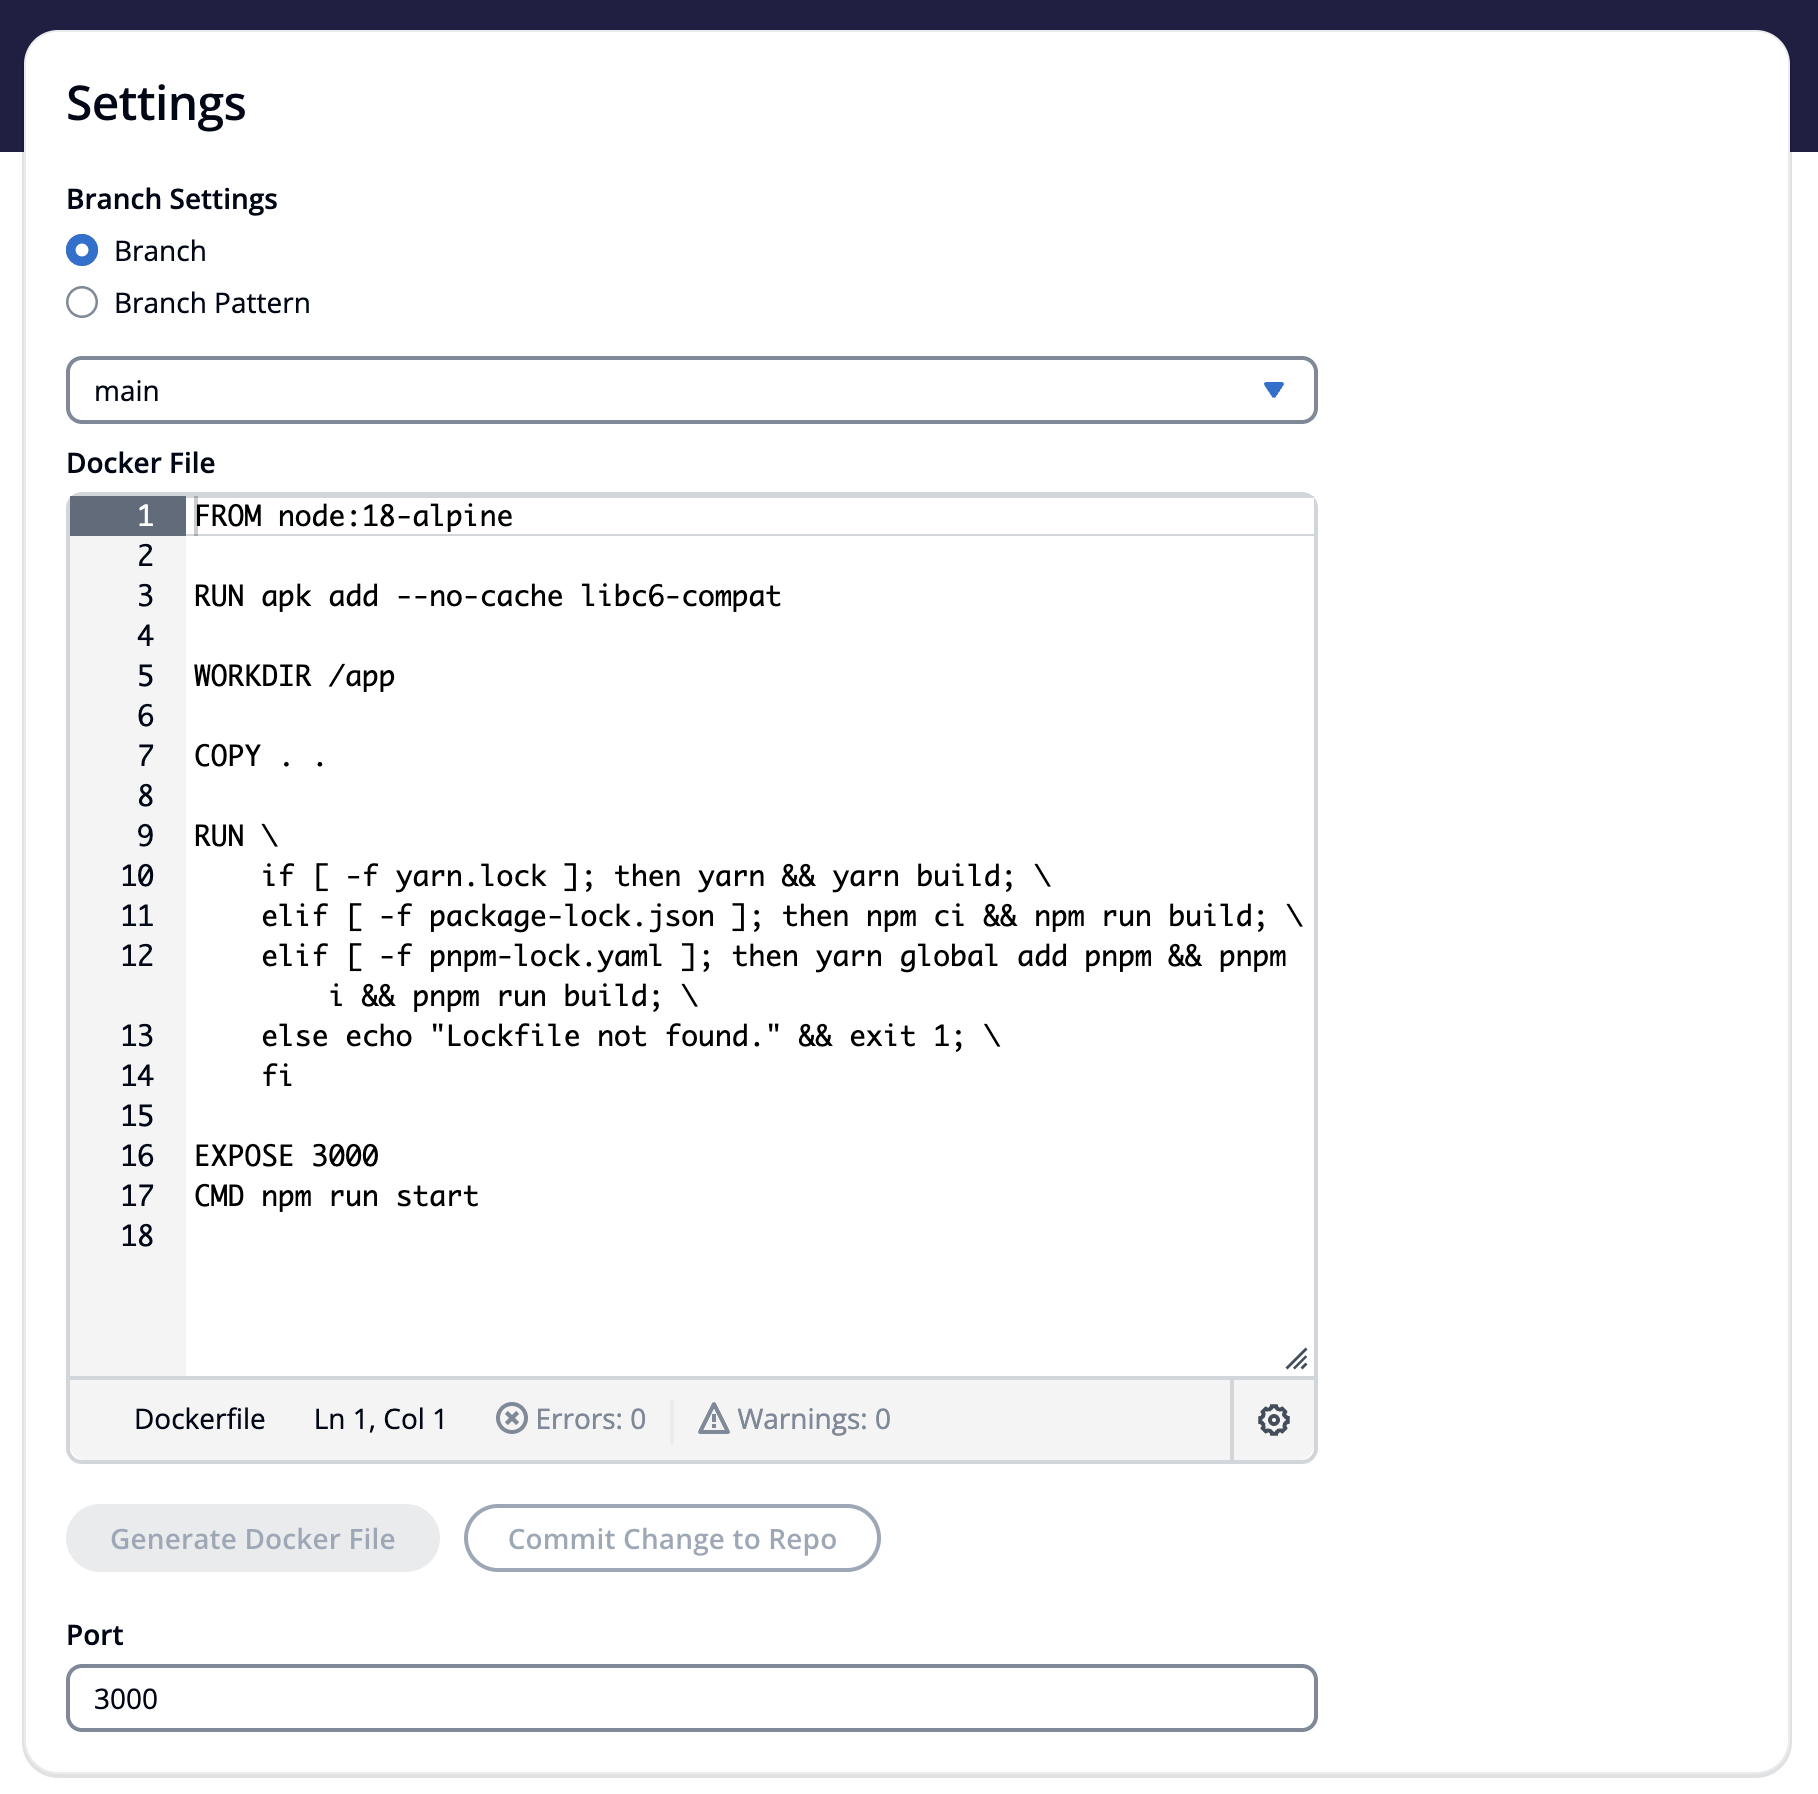
The settings section is essential in making sure your application deployment is configured properly, so take extra care to make sure your configuration is correct. Here we select the branch or branch pattern that you want to deploy, create or modify an existing docker file, and optionally select a port.
Selecting the branch pattern option will select the most recently updated branch to match that pattern. Wildcard values (*) and regex expressions (omit forward slashes and flags) are accepted.
If a docker file is absent in your selected branch, you can generate one here by selecting a framework from the dropdown. Once selected, a code editor will appear with a basic docker file compatible with the previously selected framework. You can make edits within the editor and commit the file directly to the selected branch of your repository. If you are new to docker files, check out the official reference guide here.
Next up, we'll be configuring the instance for this deployment.
Instance Configuration
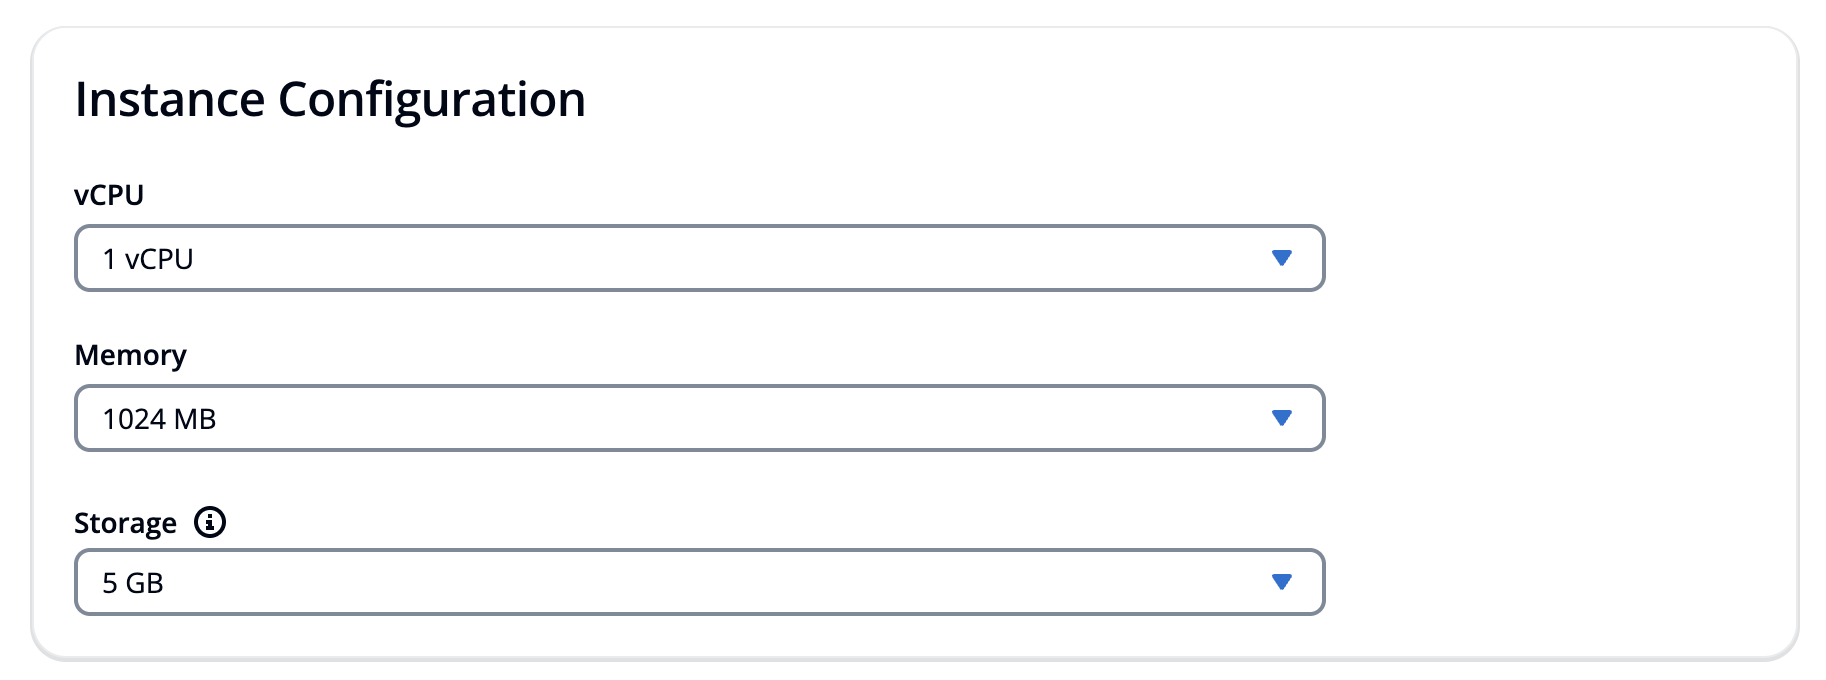
With app deployments on Syndica, you have several options for your virtual deployment server. There are three different categories to configure: CPU, memory, and storage. Based on the individual requirements of your application and the budget allocated, select the options that fit your needs.
You can upgrade/downgrade any of these at any time based on the needs of your app. See pricing details here
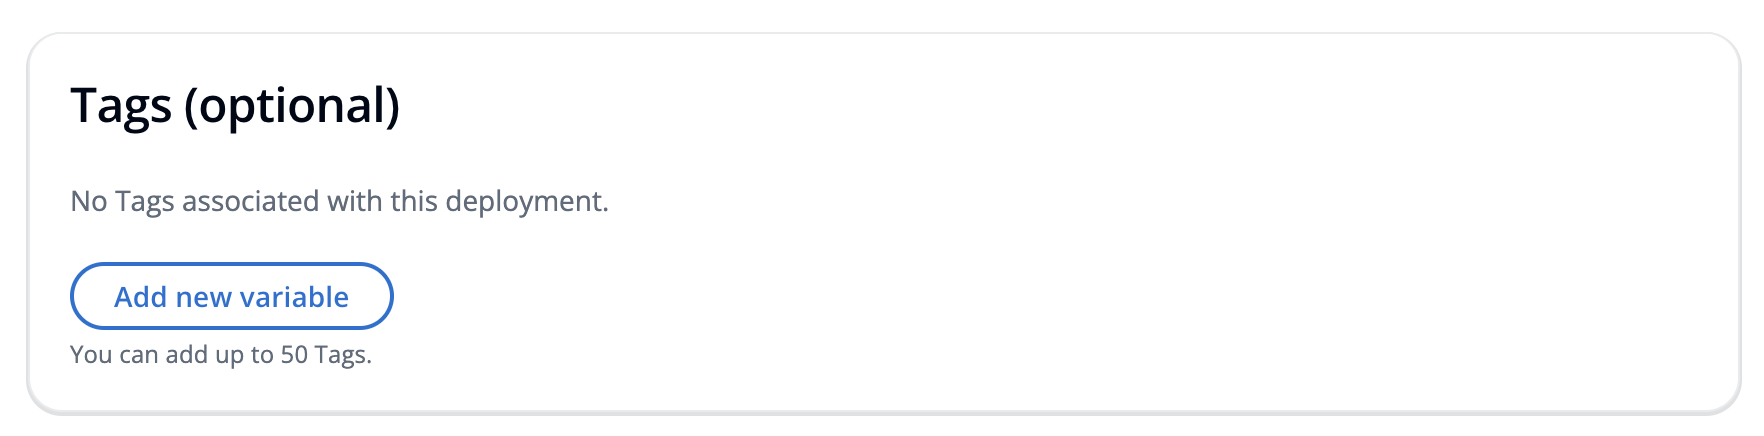
Tags
Optionally, you can add tags to this deployment. Like tags in other parts of the Syndica platform, they allow you an extra option to keep organized.
Once you're done, review the deployment, and click the Deploy button. With that, you'll kick off a build, which once complete, will generate a container, where your app will live. We'll cover both of those concepts in the next section. Feel free to skip ahead, or keep scrolling to learn about editing and managing your deployment.
Editing a Deployment
After creating a deployment, you can modify several settings to fit your needs as your project grows. We'll be covering exactly what can, and cannot, be changed after a deployment has been created.
First, to edit a deployment, navigate to the main deployments page of your application. Here you'll see a list of all deployments belonging to this branch. Click the edit button of the deployment you want to modify and you'll be taken to the screen pictured below.
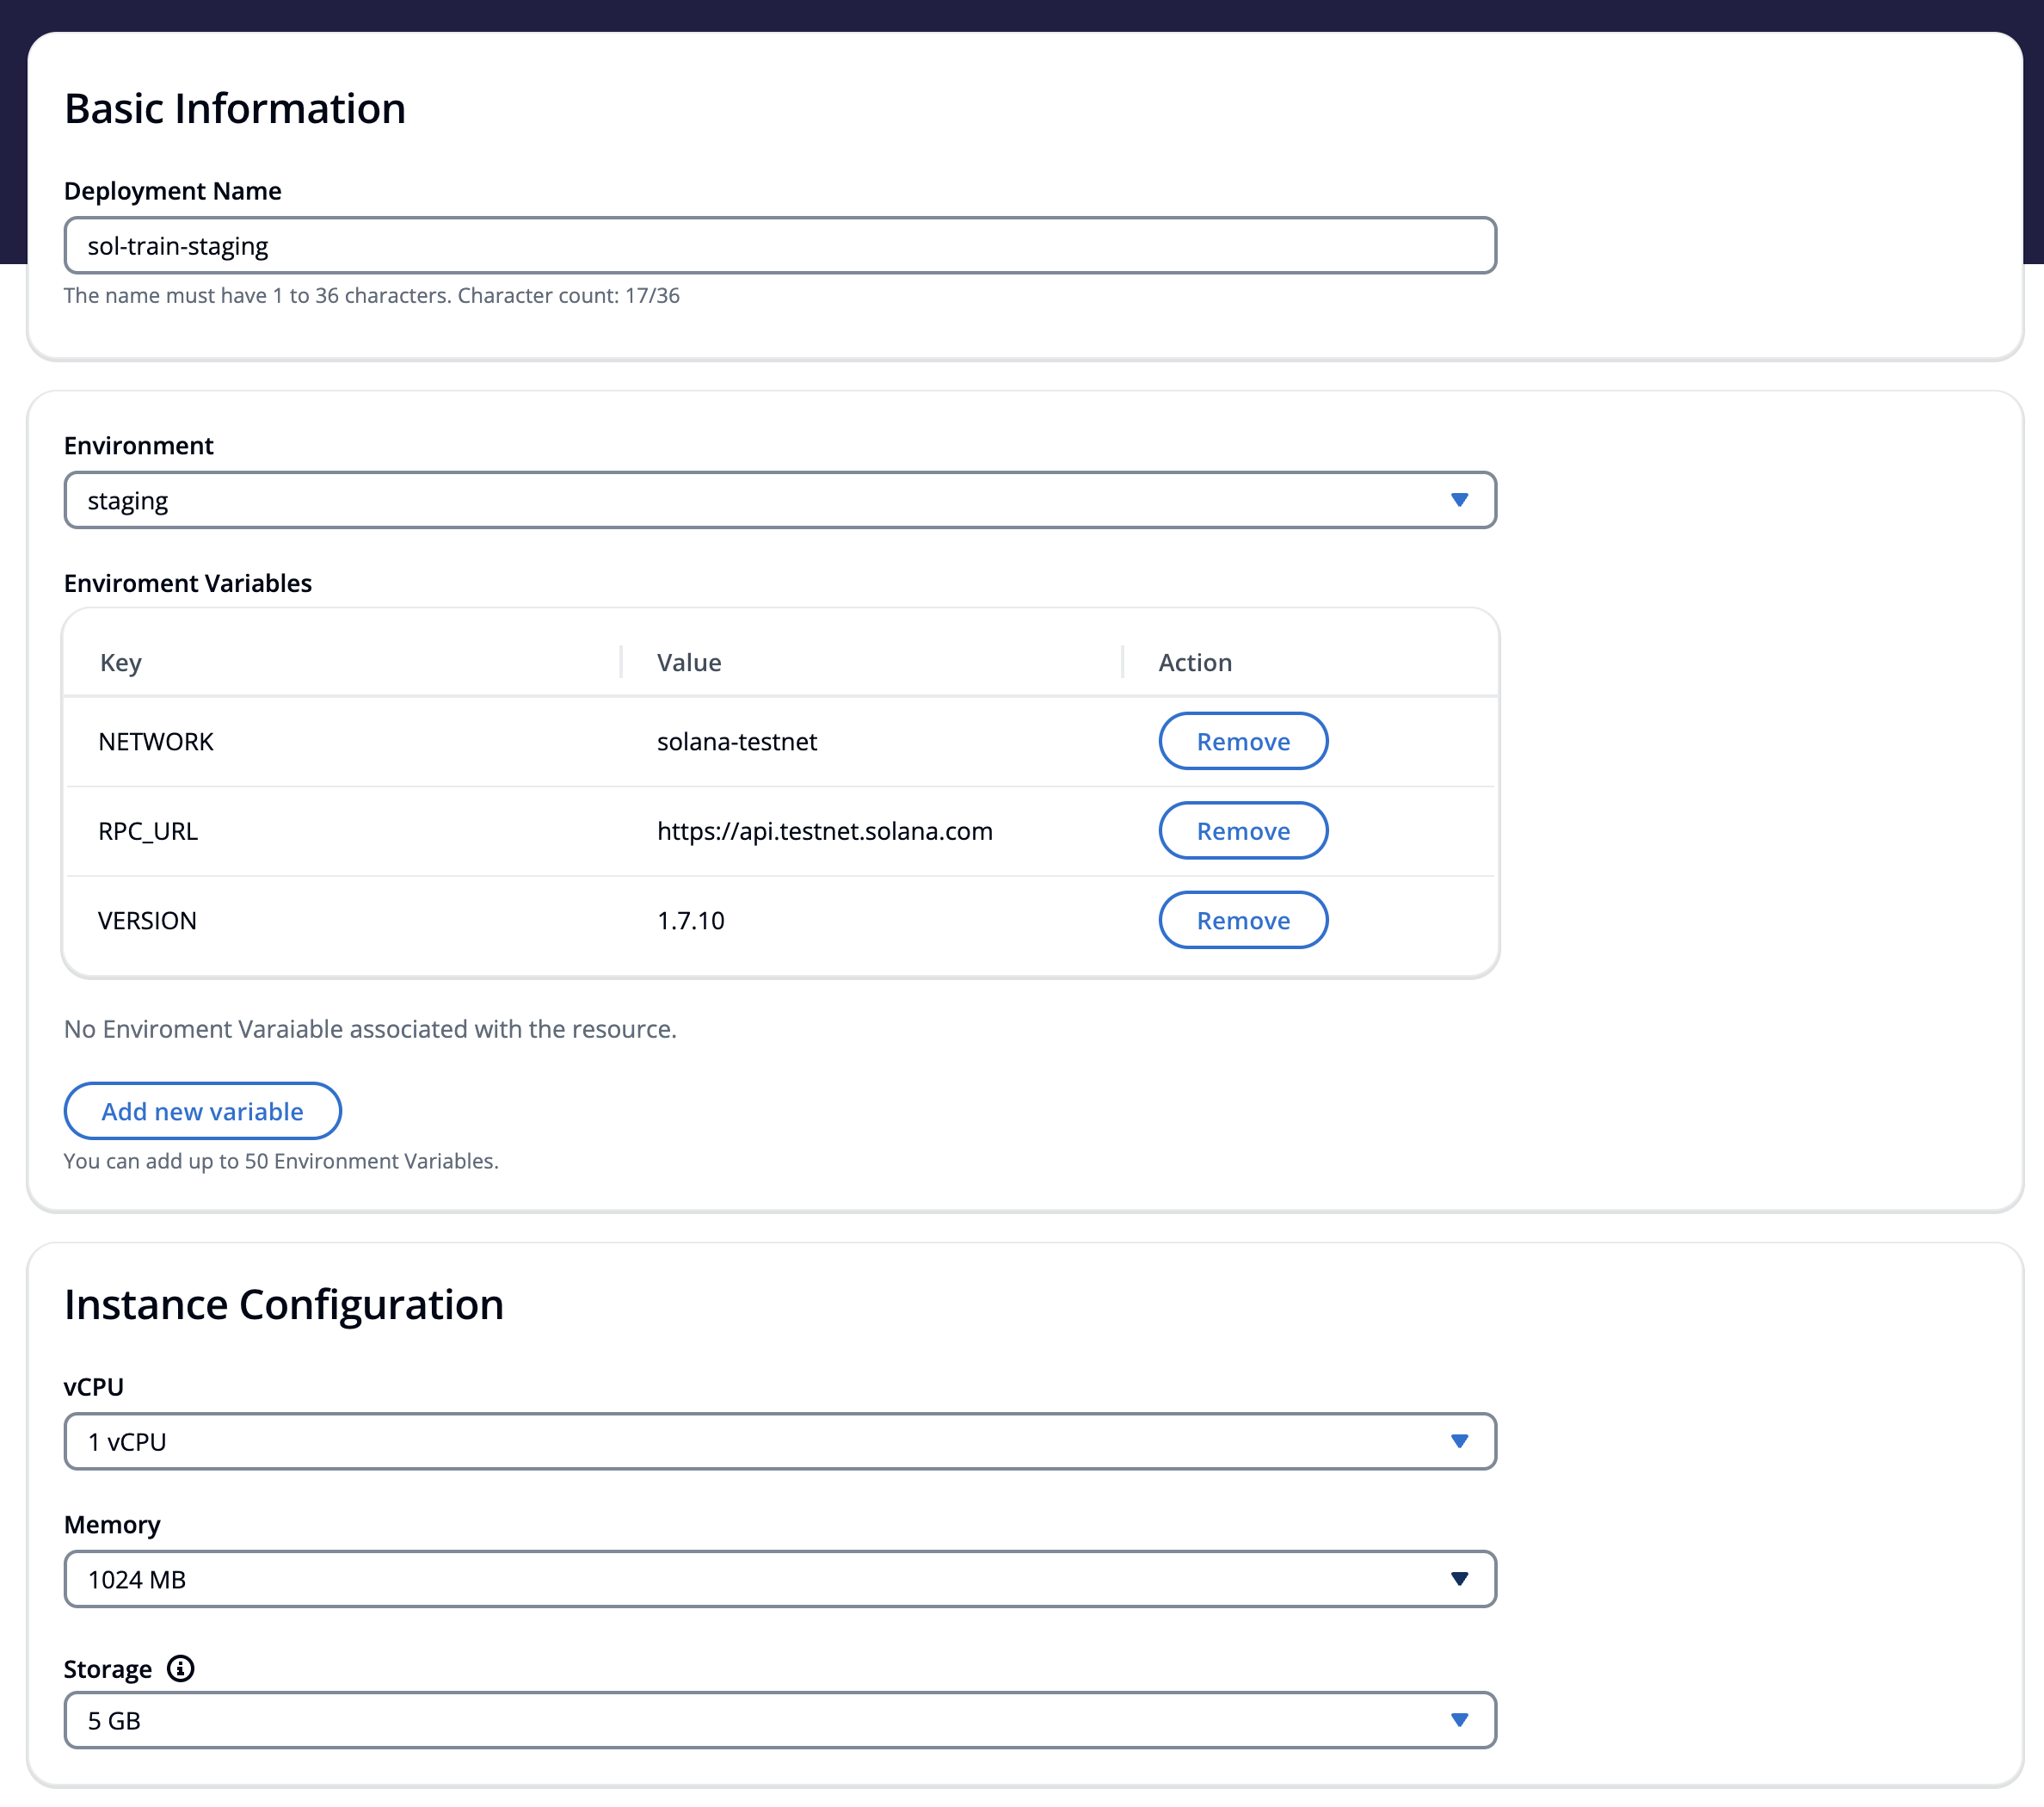
From here you modify several aspects of your deployment. Below is a list of what is available to edit:
-
Deployment name
-
Deployment environment and its environment variables
-
The instance configuration of the deployment (upgrade or downgrade)
These options give you the flexibility to adapt your deployment to meet the changing needs of your application. Once you have completed making the desired changes, click the save button to update your deployment. You will be taken back to the main deployments screen. Editing a deployment will trigger a new build.
Because of how deployments work, there are a few things that logically are unable to be changed once a deployment has been created.
First is the branch. The deployment is running a specific branch and you will most likely have several deployments running different branches of the same repository, because of this, a different branch is necessarily a different deployment.
Secondly, once a deployment is up and running, the region cannot be changed. This is because changing the region will change where it is physically hosted, thus creating a new deployment.
If you need a deployment with either a different branch or a different region, create a new deployment.
To update your docker file, modify it as you would any other code within the branch and push it to your repository provider. This will trigg
Managing a Deployment
Once a deployment is live, you can view and manage it through the platform. From your application, click on Deployments from the left-hand side navigation menu. This will take you to your applications deployments screen which will show all deployments associated with that application. Click the Manage button of the deployment you wish to view.

The deployments manage screen allows you to view important information about your deployment quickly including build and deployment status, a list of recent containers and builds, and a snapshot of usage data.
Clicking on a specific build or container will take you to the real-time logs outputted by the virtual server, allowing you to troubleshoot your application quickly.
From this screen, you can also start, stop, and restart your deployment at any time. Once the action has been completed, you will get a status update that it was performed successfully.

Deleting a deployment
If you need to delete a deployment for any reason, you can accomplish it, by going to the deployments manage page and clicking the red Delete Deployment button in the upper right-hand corner. You will be prompted to confirm your action and as this is a destructive, irreversible action, asked to type the deployment name before continuing.
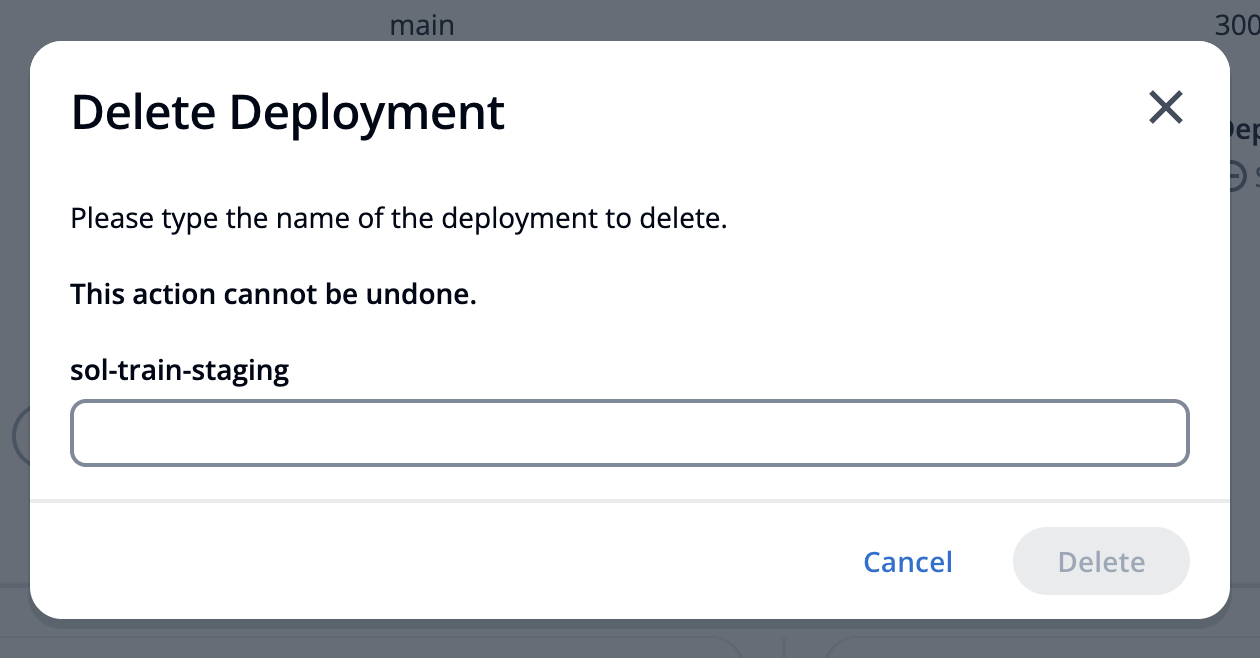
Deleting a deployment will stop and remove all containers, unlink the domain from that deployment, and delete any associated data such as tags and environment variables. Your app will no longer be accessible to anyone visiting the URL of that deployment (generated or linked). Proceed with caution.
Next, we'll cover the concepts of builds and containers, and how to view real-time logging information from the server.