Environments
Take control of your development process
Development → Staging → Production - this is the lifecycle of application development. Each of these requires different configurations, environment variables, and subdomains. Using environments within the Syndica platform allows you to accomplish just this. Importantly, it also allows multiple applications within the same environment to communicate.
Like most things on the Syndica platform, environments are scoped at the Stack level. A dev environment in one stack will be separate from a dev environment in another.
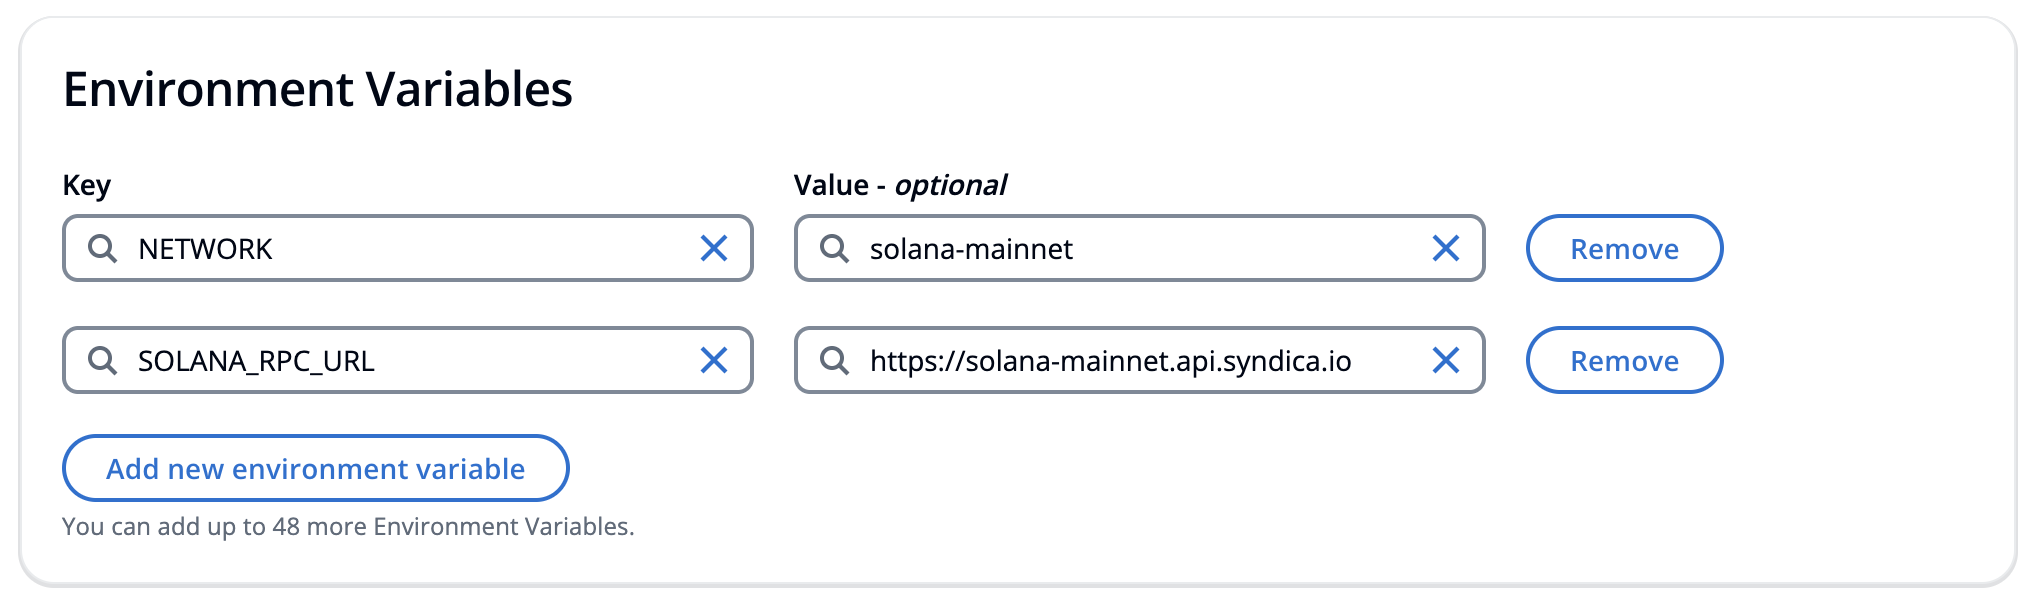
To quickly get your app up and running, Syndica provides two default environments: Staging and Production. Additionally, we have included two standard environment variables for Solana app development.
Setting up an environment takes just a few minutes, we'll outline how to get started below.
Creating an Environment
From your Stack's homepage, navigate to the environments page from the left-hand navigation menu.
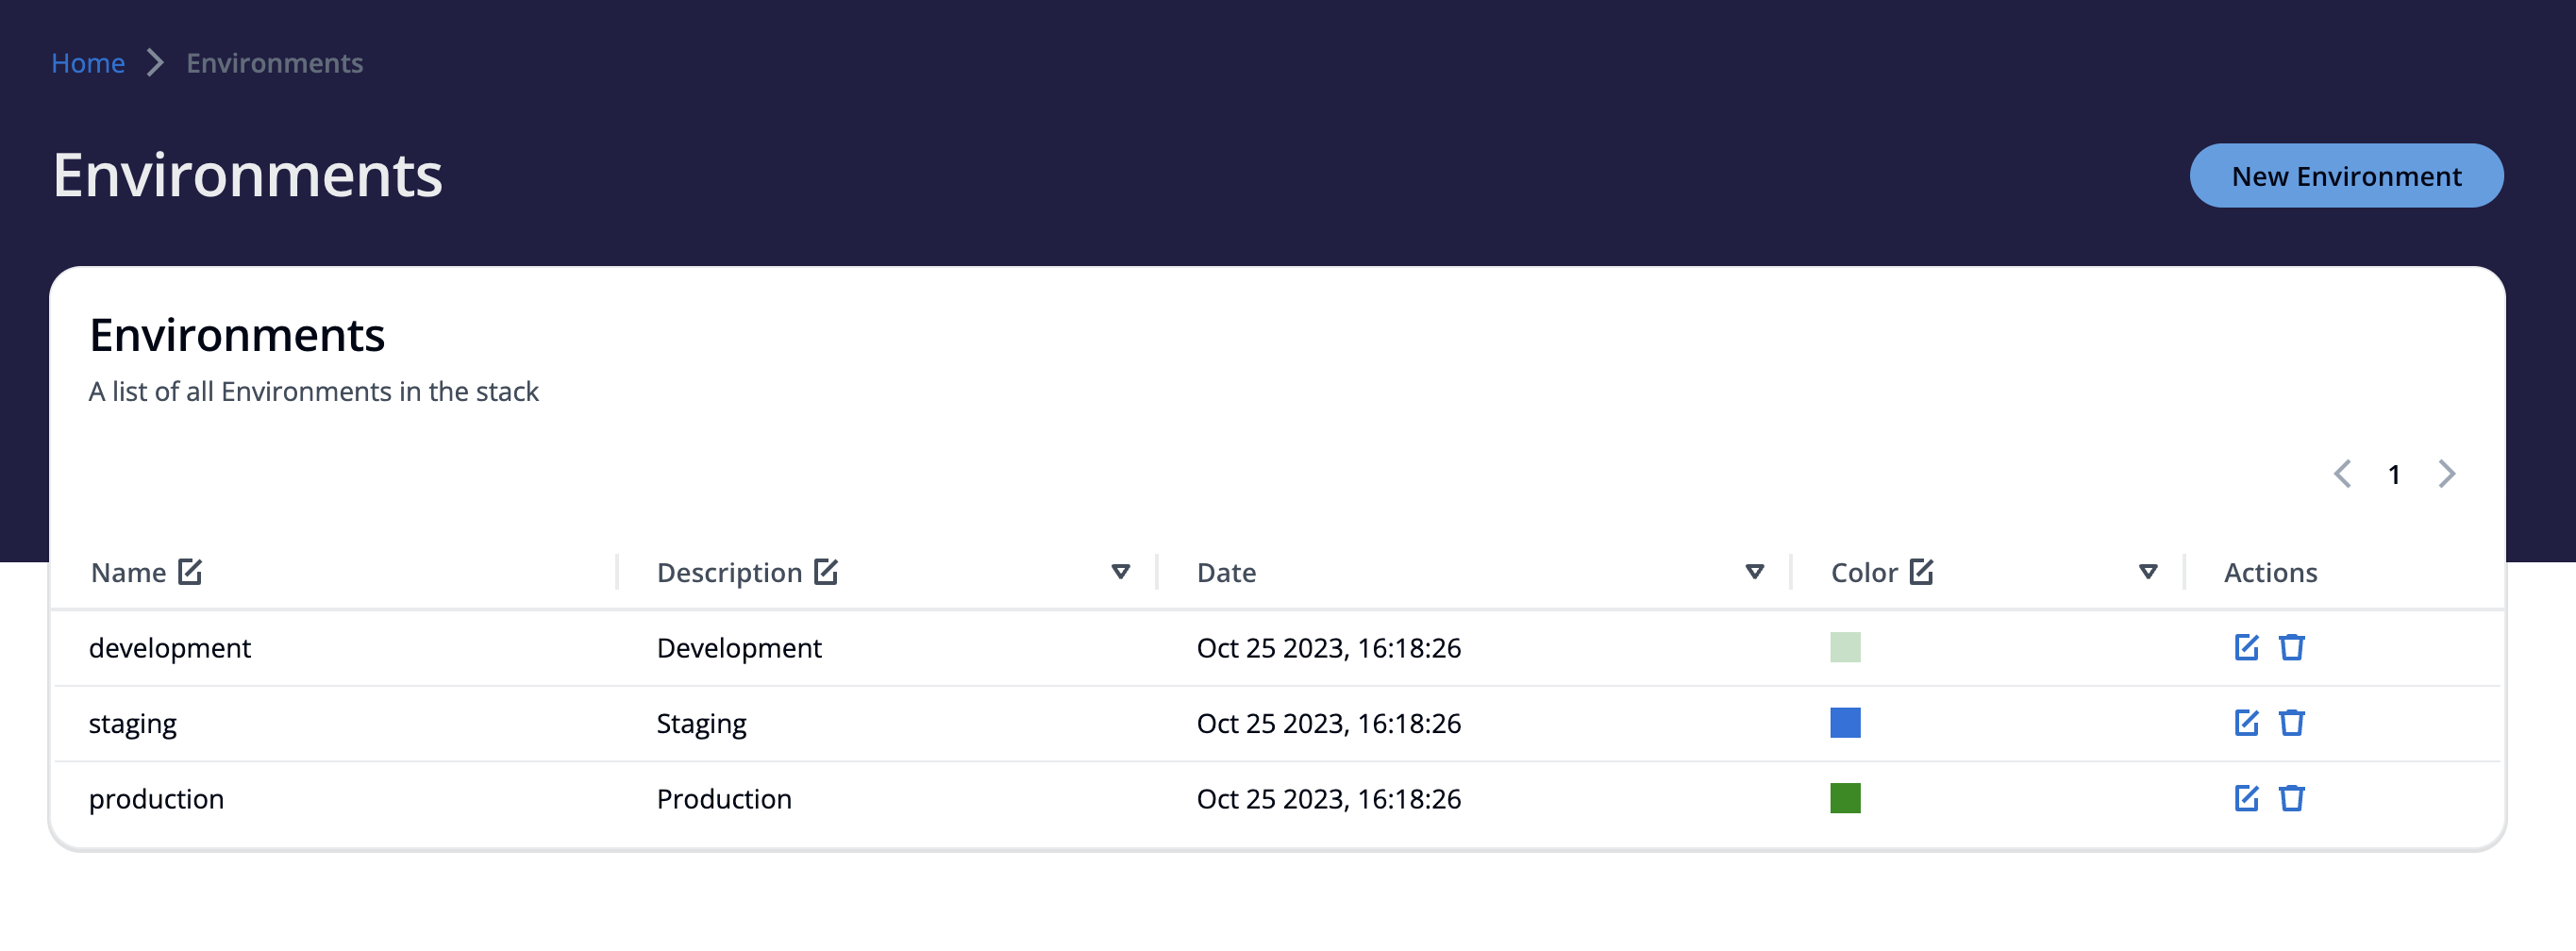
From here, click the New Environment button in the upper right-hand corner. This will take you to the Create Environment wizard.
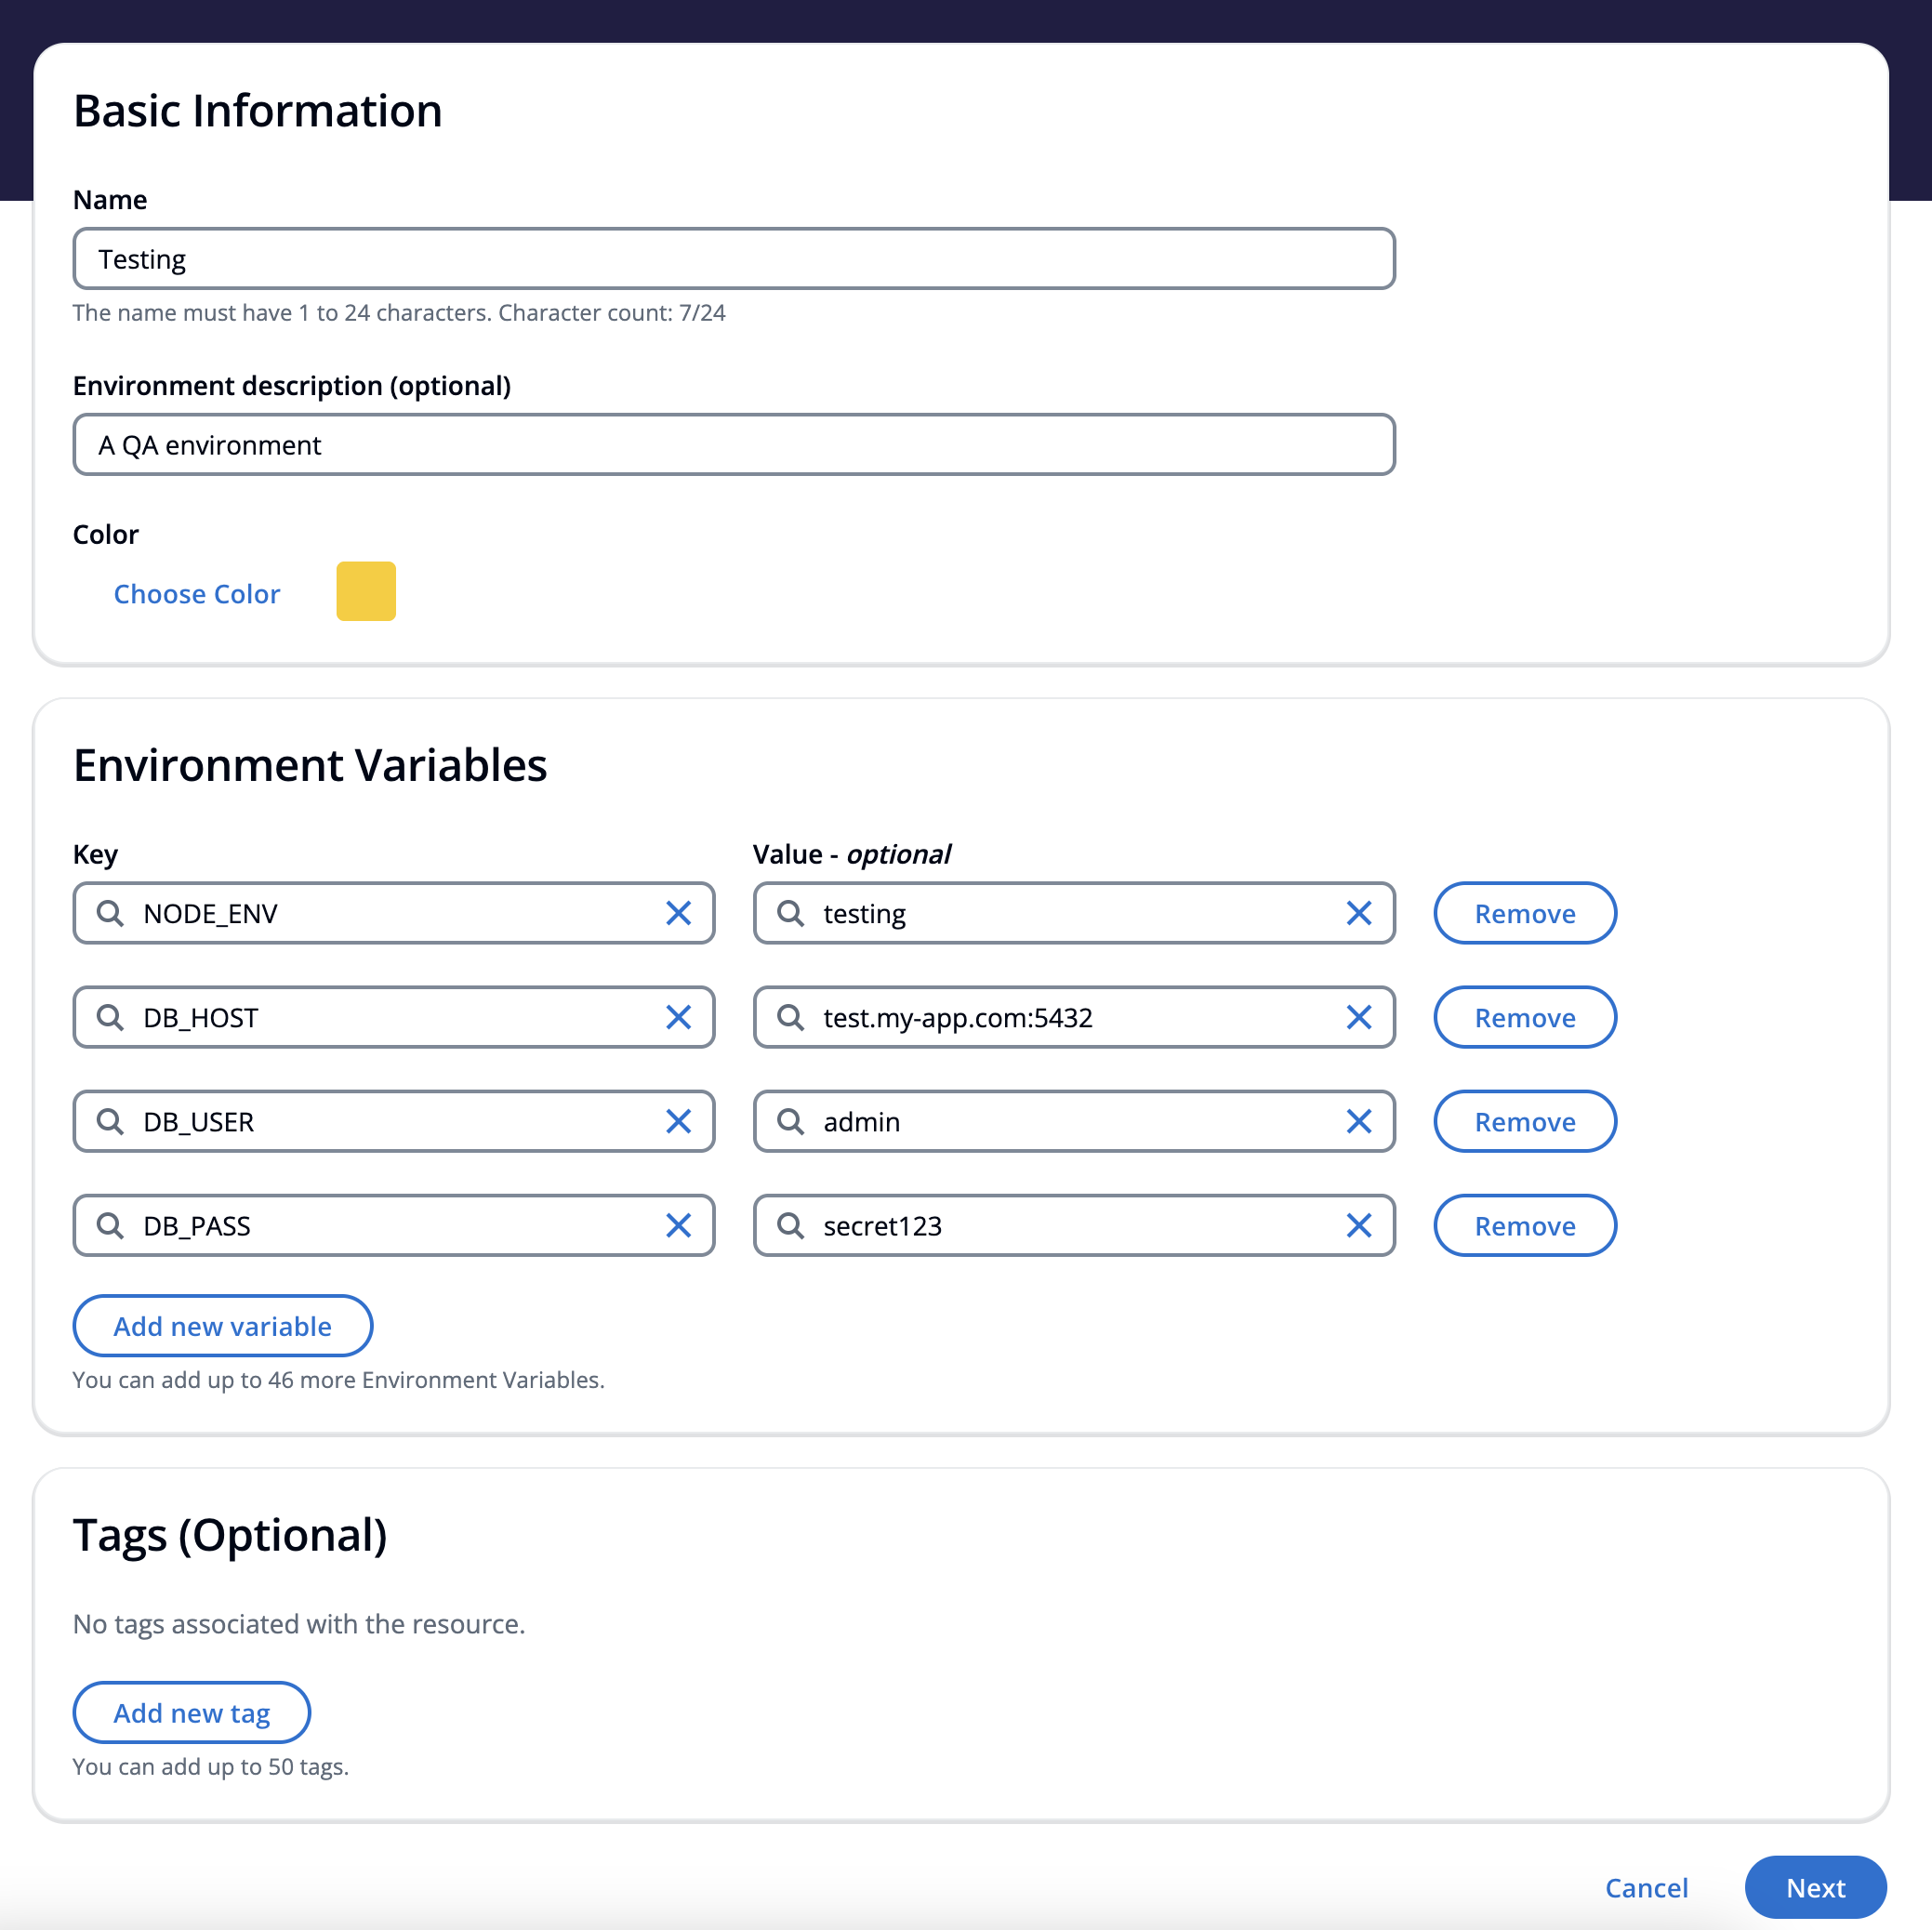
Enter a (unique) name and optional description and select a color to help you quickly distinguish your environments. Add any environment variables you need for your particular environment and optionally add any tags to help keep you organized.
Once you're done, click next to review your new environment. Once reviewed, click Create Environment and you're all set. You'll be taken back to the main environments page where you'll see your new environment.
Editing an Environment
Editing an environment within the Syndica platform is easy. There are two different editing modes to choose from. Firstly, a quick edit mode that allows you to edit basic environment details right from the environments table, and lastly, the environments edit page, which gives you full access to edit all aspects of an environment.
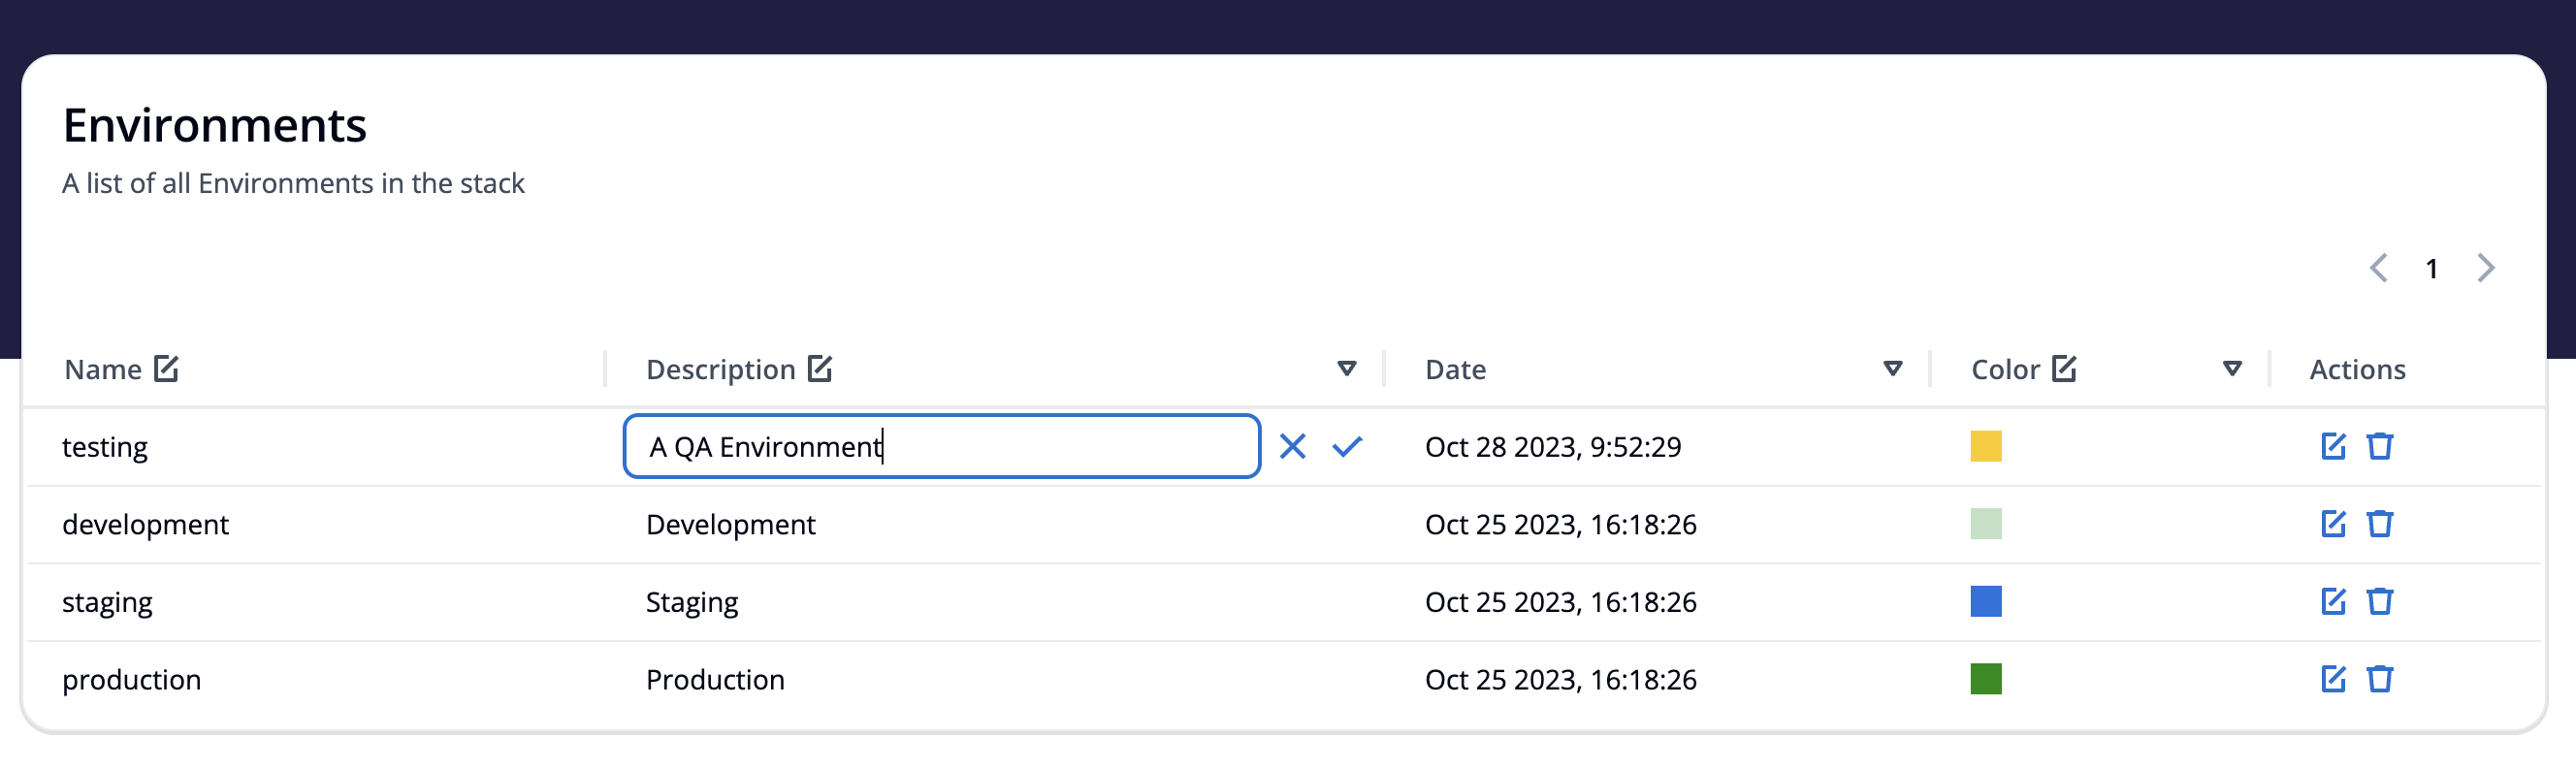
Quick edit
To edit any column in the environments table, click on a cell, make your edit, and click on the check mark to confirm or the x to discard.
Edit page
To edit all fields within an environment, navigate to the environments edit page by clicking on the edit button in the actions column.
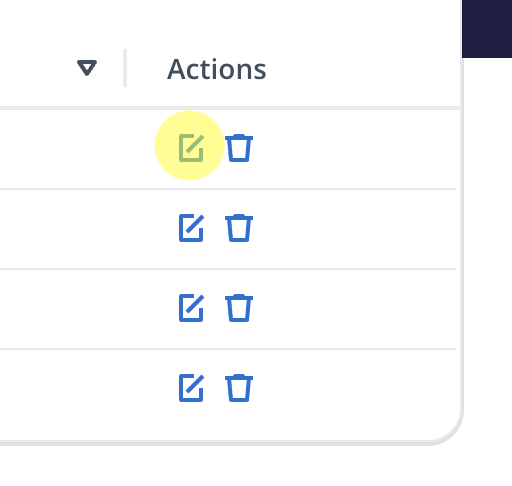
This will take you to the environments edit page where you can modify any fields of that particular environment. When you're done editing, hit the save button, and your changes will take effect immediately.
Modifying any of the environment variables within an environment will trigger a rebuild of any deployments using that environment.
Removing an Environment
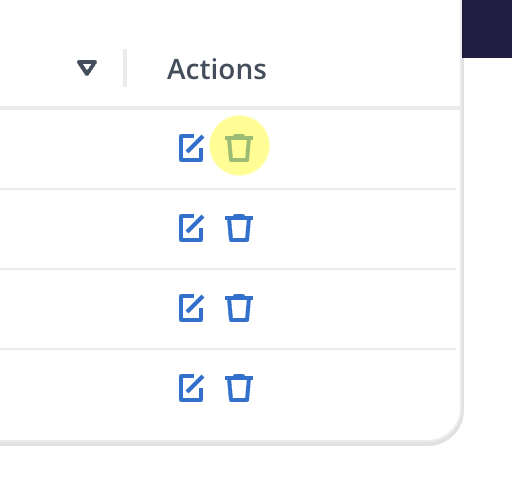
If you need to remove an environment, click the Remove Environment (trash can) icon in the actions column. Before removing an environment, ensure none of your applications are using that environment. If they are, you'll need to switch their environment before continuing.
You'll be prompted to confirm that you want to remove the selected environment with a suggestion to ensure that none of your applications are currently using it.
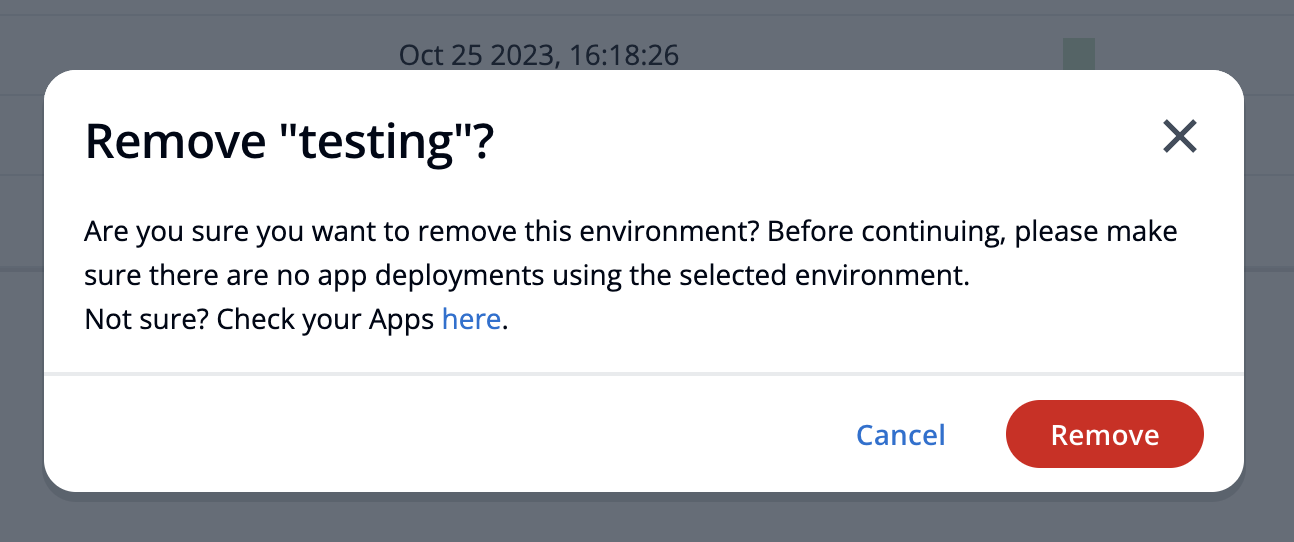
Click remove and your environment will be deleted.
If any applications are using the environment you're trying to delete, you'll get an error stating that apps are currently using that environment and it was unable to be deleted.
With repositories and environments set up, you're ready to create your application.