Domains
Get your app up and running on your domain in no time.
Once your application is ready for deployment, you'll most likely want to point it to a custom domain you have purchased through a domain name registrar (GoDaddy, Namecheap, Bluehost, etc).
On the Syndica platform, we have split the process of adding a domain into two separate steps, first, you'll add the domain to your account and then link that domain to a deployment. We'll walk through exactly how to accomplish this below.
Adding domains can only be done by an Account Owner
Step 1: Adding a domain
To add your custom domain to your Syndica account, navigate to the manage page by clicking on the gear icon in the navigation bar from any page. Once there, select Domains from the left-hand side navigation menu.
From this page, you can add domains and manage any domains you have previously added. If you have not added any domains to your account, you will be prompted to do so when you arrive at this screen.
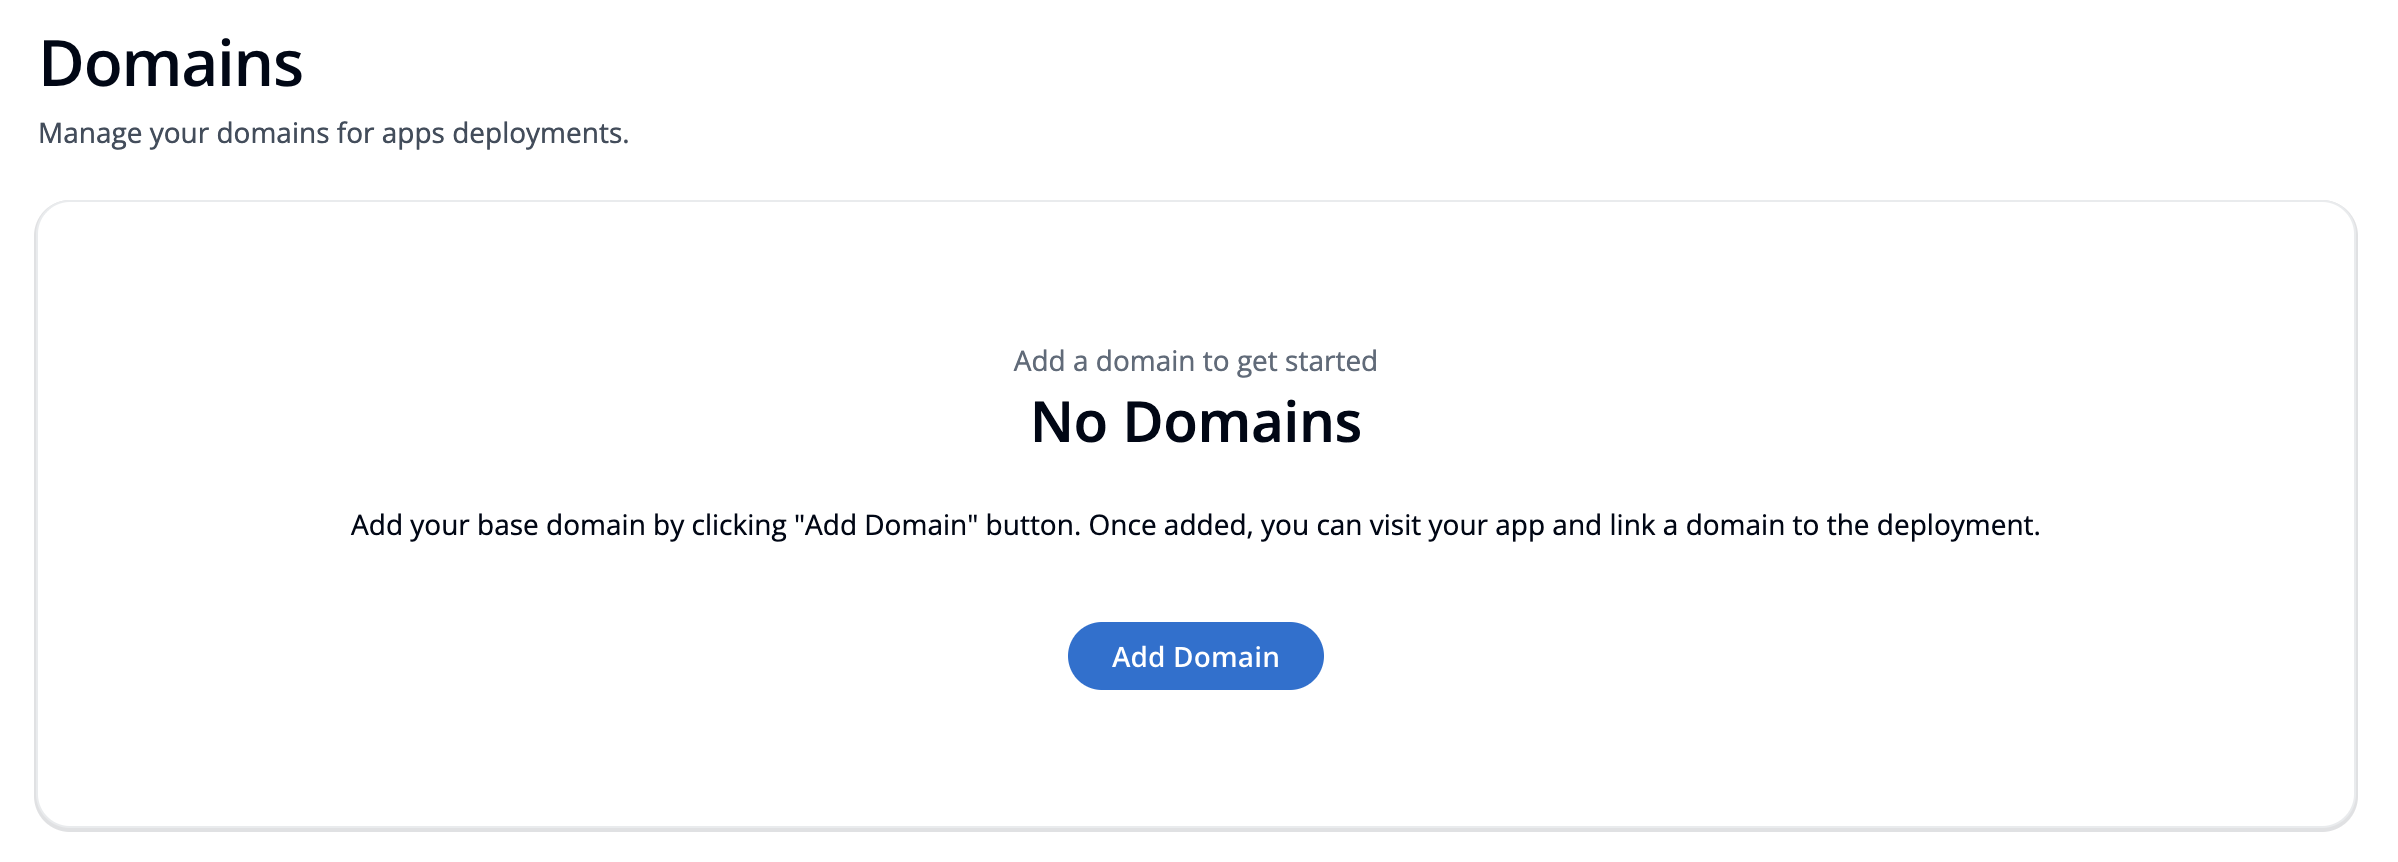
Click on the Add Domain button to begin the Add Domain wizard.
First, you'll enter the domain name and top-level domain (.com, .io, etc) that you would like to add to your account.
Do not add https, www, or any slashes.
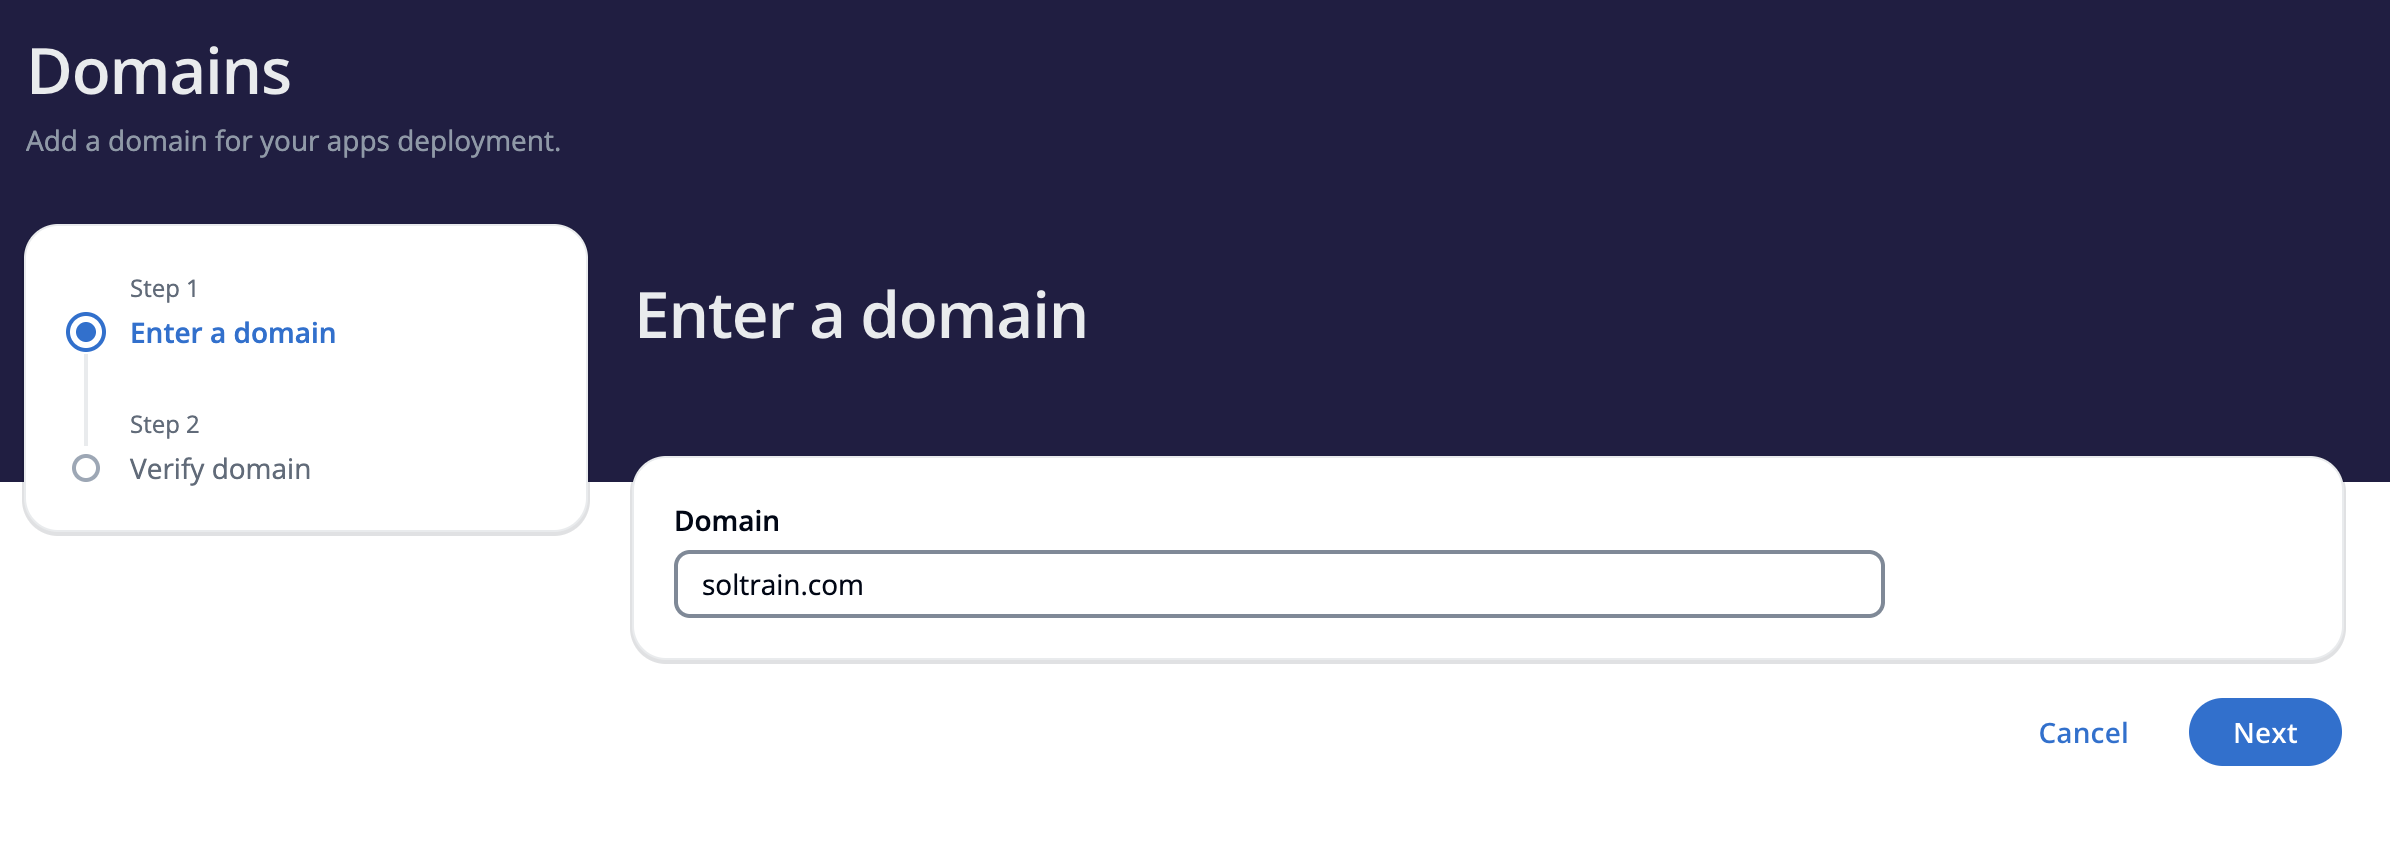
Once entered, hit the Next button to verify your domain with your DNS provider.
For this step, you will need to be able to log into your DNS provider and have access to modify DNS records. We will be adding a TXT record to your DNS configuration. Consult your DNS provider's documentation on how to add records.
The Record Type, Record Name (or Host in some services), Record Content (or Value), and TTL (Time To Live) are all automatically generated for you. Paste these values into their corresponding fields in your DNS Providers configuration panel. This allows Syndica to verify that your domain is correct and that you are the domain owner.
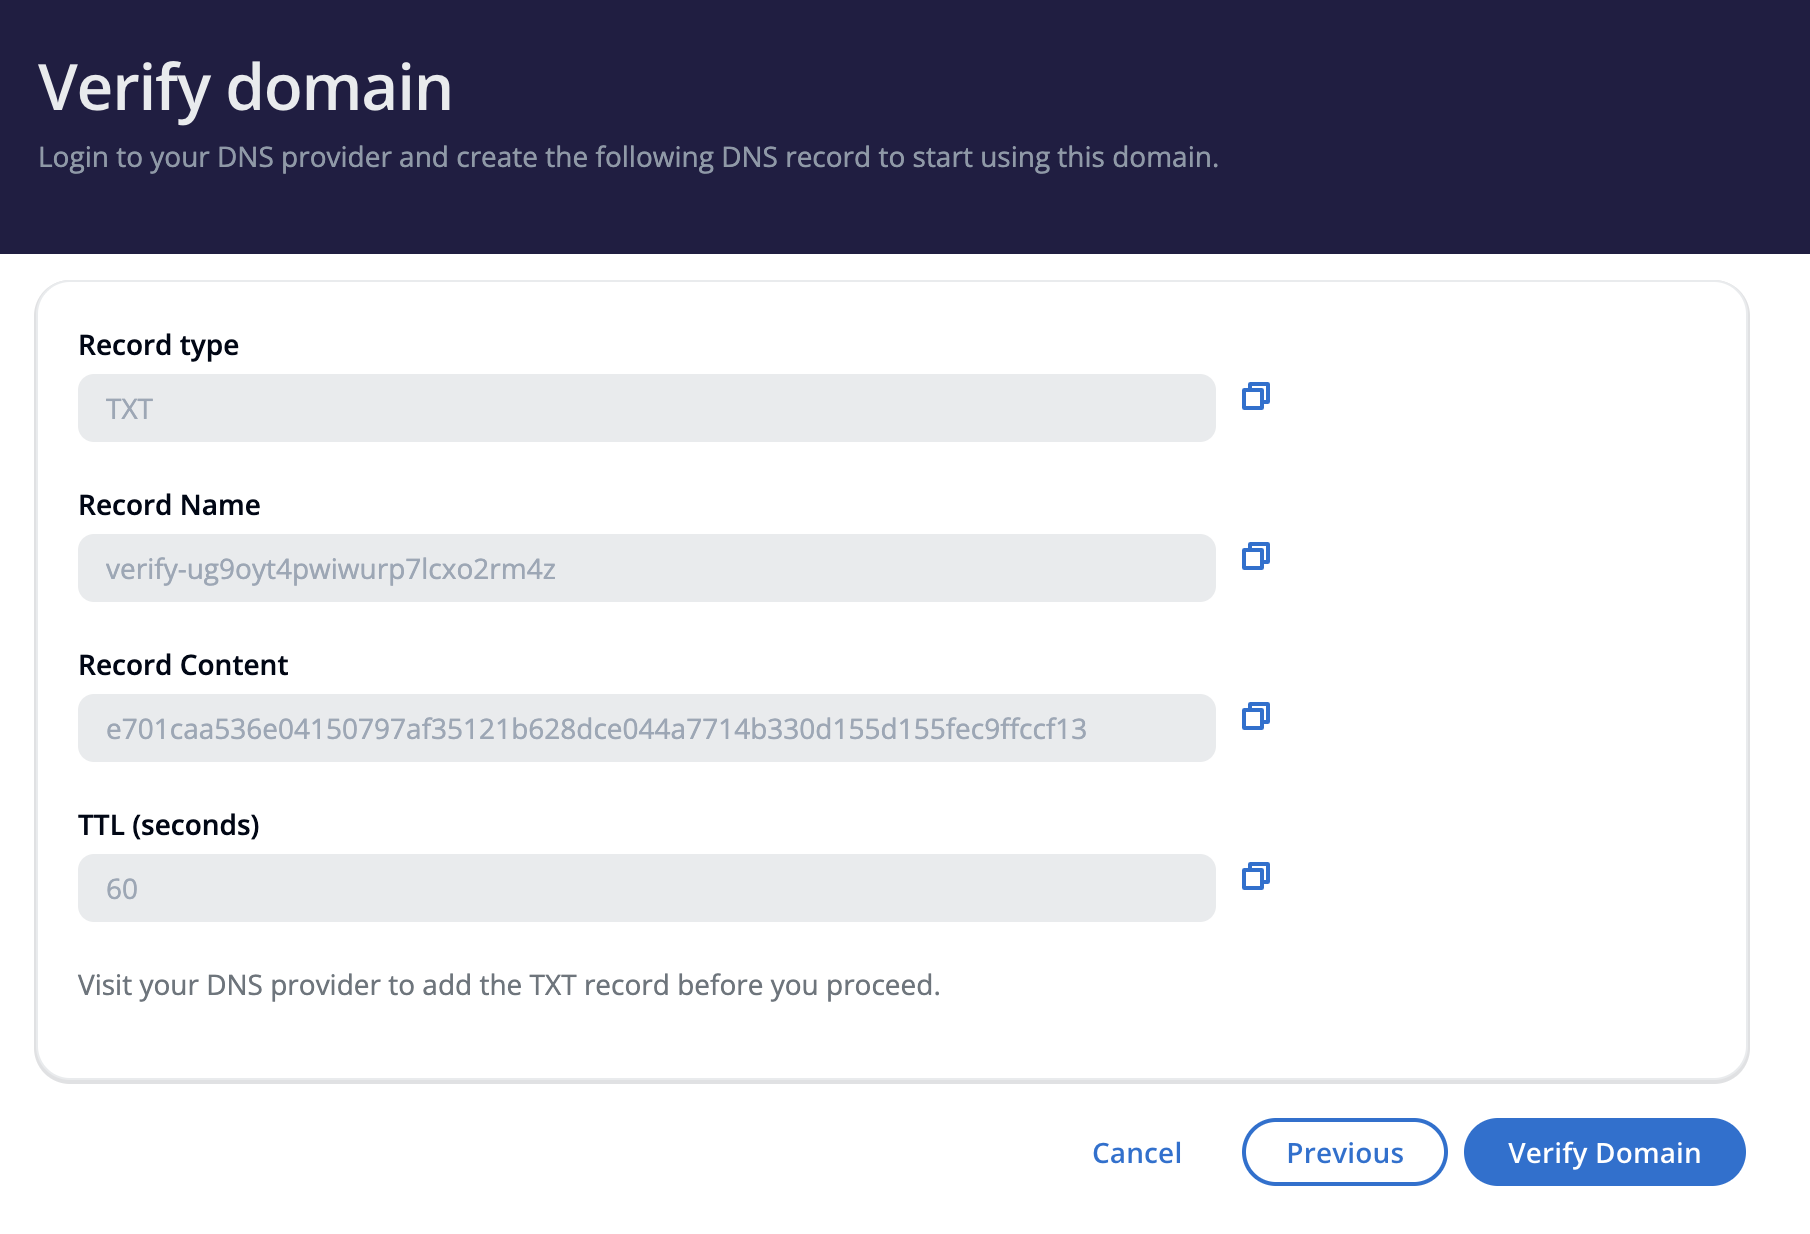
Once you've added the values into the TXT Record inside your DNS configuration, click the Verify Domain button. It may take several minutes for your DNS provider to update the configuration, so if upon attempting to verify your domain you receive the error below, try again in a few minutes. If you continue to receive that error, double-check your TXT record in your DNS provider to ensure that all values have been entered correctly.

If successful, you'll be taken back to the Domains page inside the manage section and are ready to link your domain to a deployment.
Step 2: Linking Your Domain
Now that you have a verified domain connected to your Syndica account, you can link it to a deployment. A domain linked to a deployment allows multiple deployments on the same domain, separated by a subdomain.
To link a domain to a deployment, navigate to the application you want to link the domain to by clicking App Deployments on the left-hand navigation menu in the Stack homepage and then click the manage button of the desired application. Click on Linked Domains on the left-hand side menu of the application's navigation. On this page, you can view and manage all domains linked within your application. If you have no linked domains, you'll be prompted to do so.
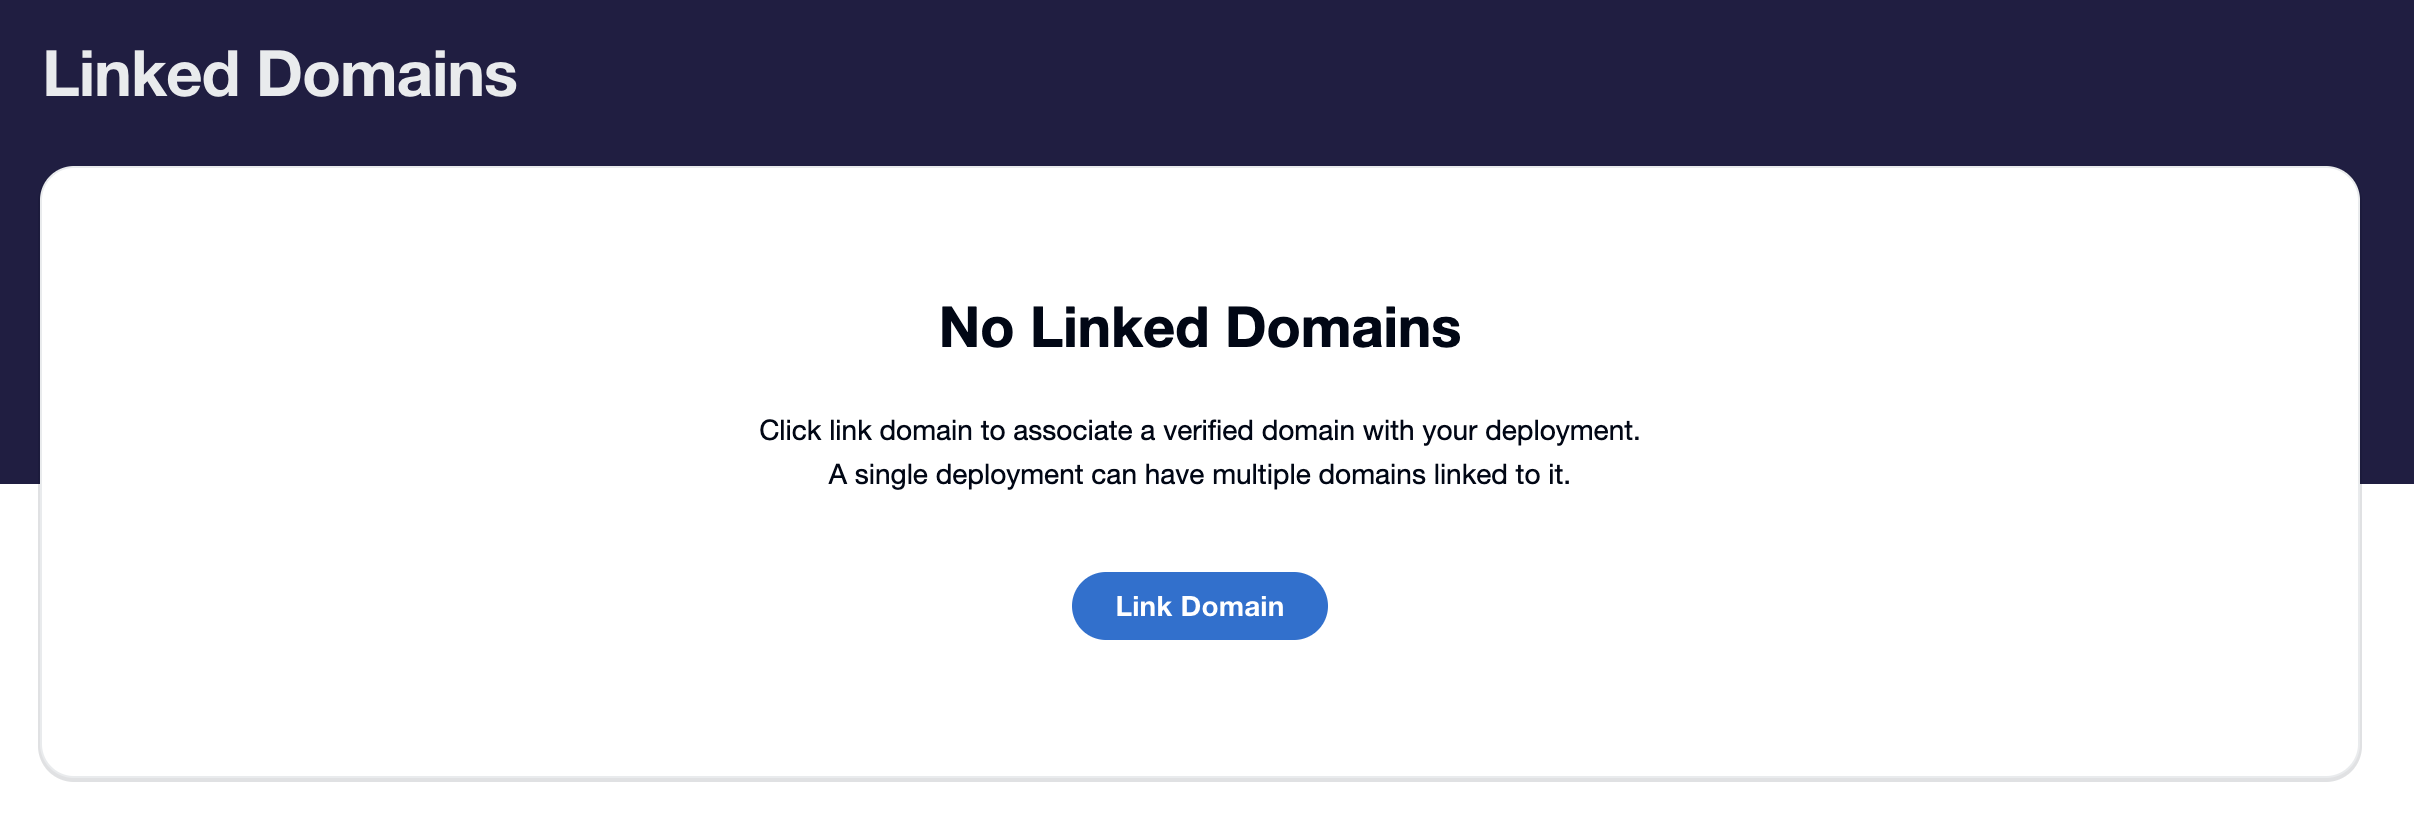
Click the Link Domain button to begin linking your domain to a deployment.
Start by selecting a deployment and domain. After that enter the subdomain you would like the deployment to point to. If you want the deployment to live at the base domain (eg www.example.com) instead of a subdomain you can leave this field blank.
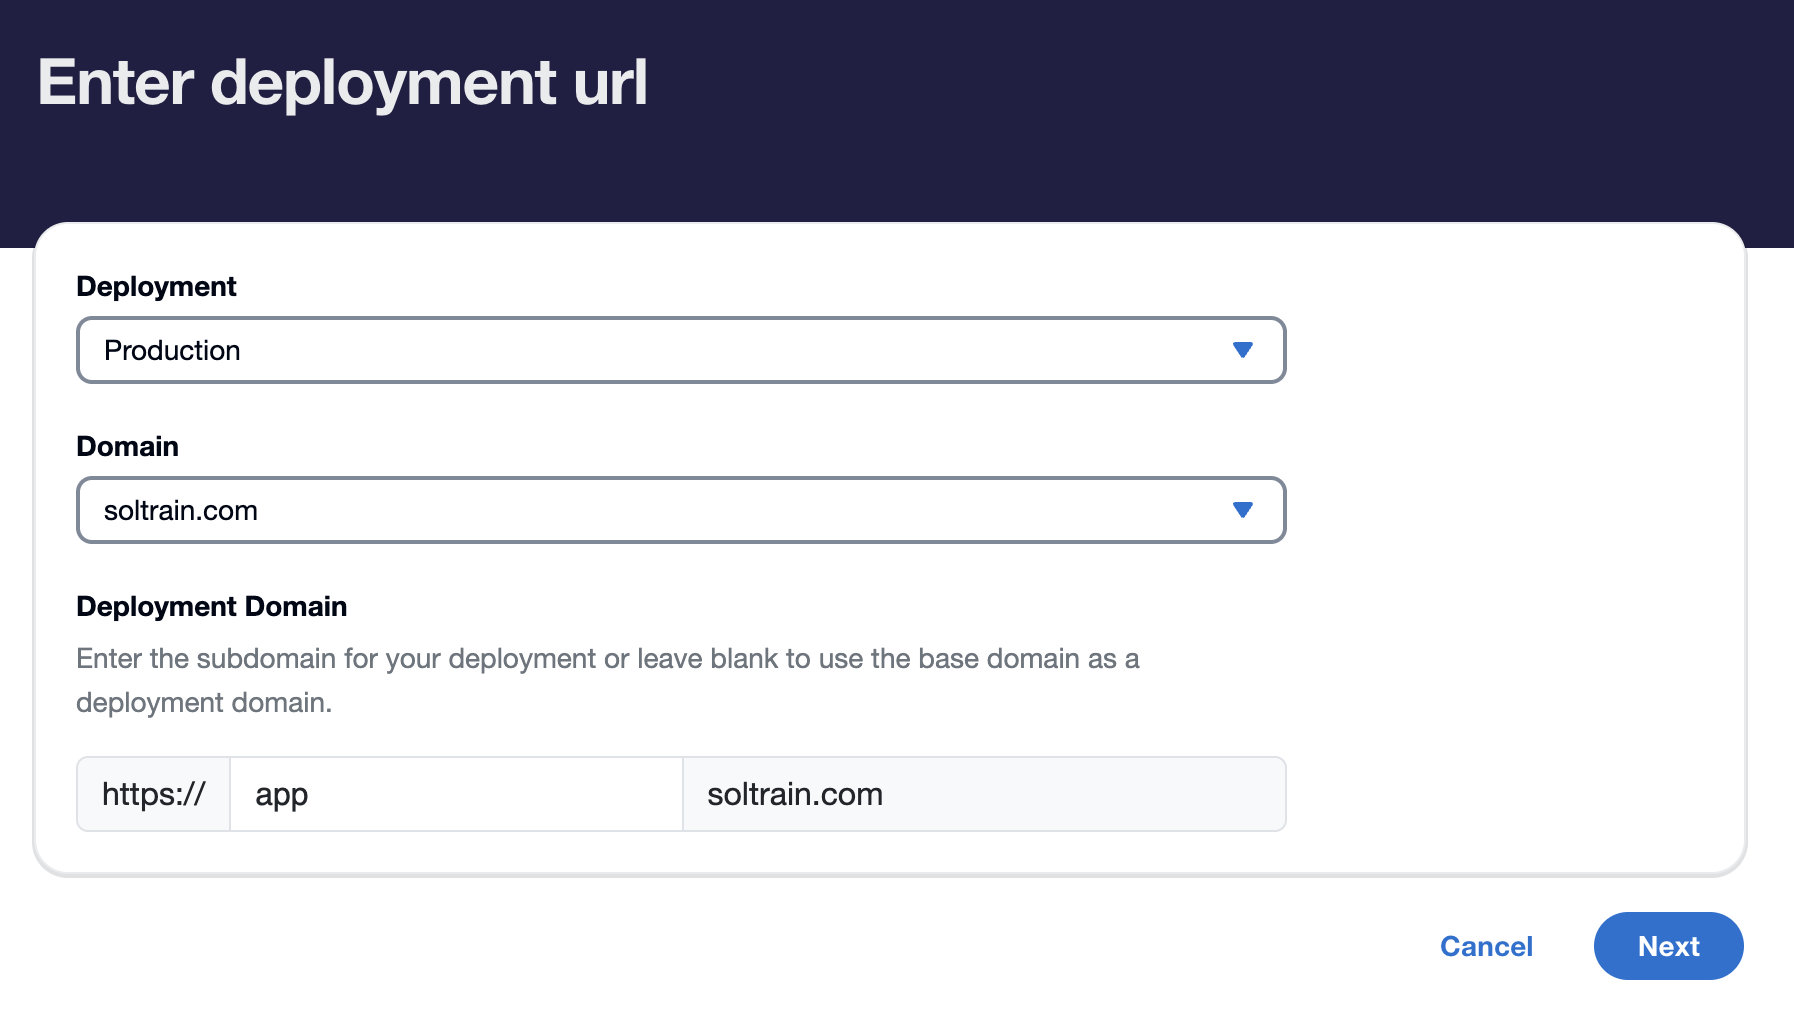
Once complete, hit the next button to continue to the verification step.
At this stage, you'll need to log in to your DNS provider and have the appropriate access needed to add a CNAME record. Please refer to your DNS provider's documentation for more information regarding adding records.
Similar to adding a domain to your account, the Record type, Record Name, Record Content, and TTL are automatically populated for you. Enter these values in the corresponding fields of your DNS provider's record configuration.
Once the record is saved in your DNS provider, click the Verify and Link button to complete the process. Similarly to adding a domain, the new record can take several minutes to propagate, so if you receive an error, wait a few minutes and try again. If you continue to receive an error, verify that you have entered the information correctly and try again.
Once successfully verified, you'll be taken back to the linked domains page where your newly verified and linked domain will be listed.
At this point, if your deployment is successfully built and is running in a container, you should be able to visit the URL that was linked and see your app.